Okay, so your ice maker's decided to retire to the Bahamas, leaving you high and dry? Don't sweat it! Replacing the ice maker in your Whirlpool side-by-side isn't brain surgery. Think of it more like assembling a slightly complicated Lego set…with ice!
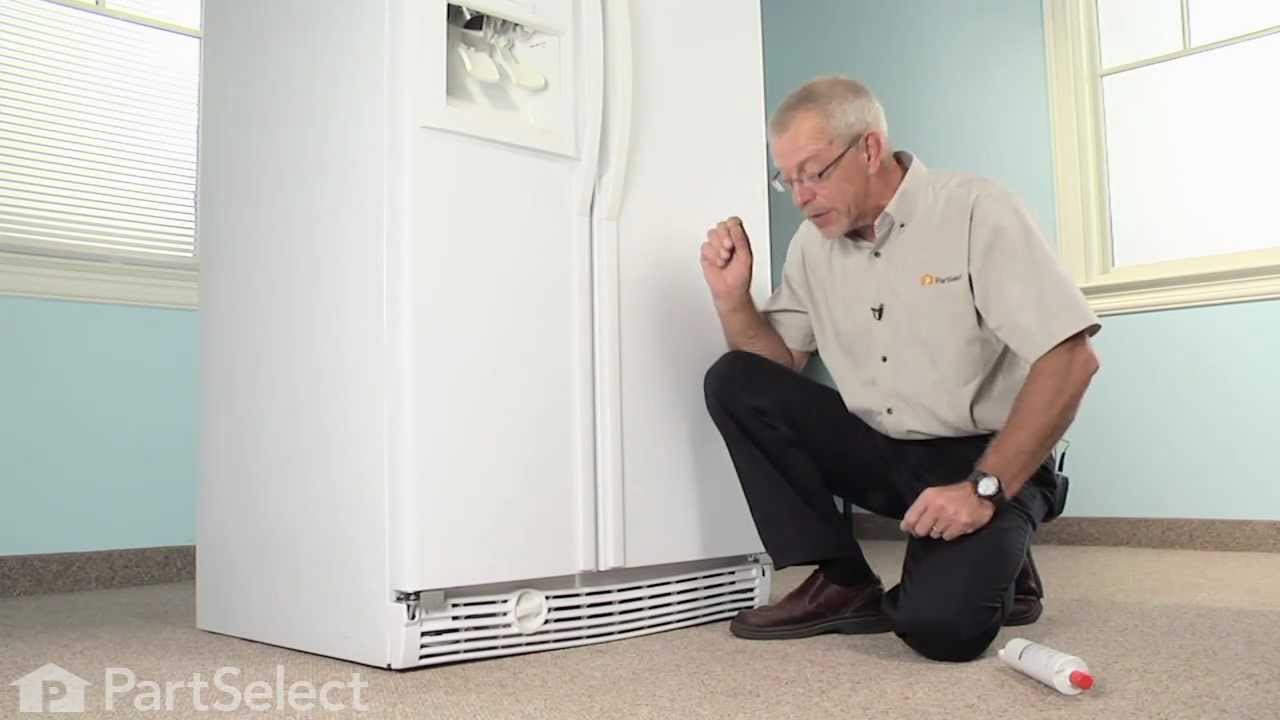
Step 1: Unplug and Prep!
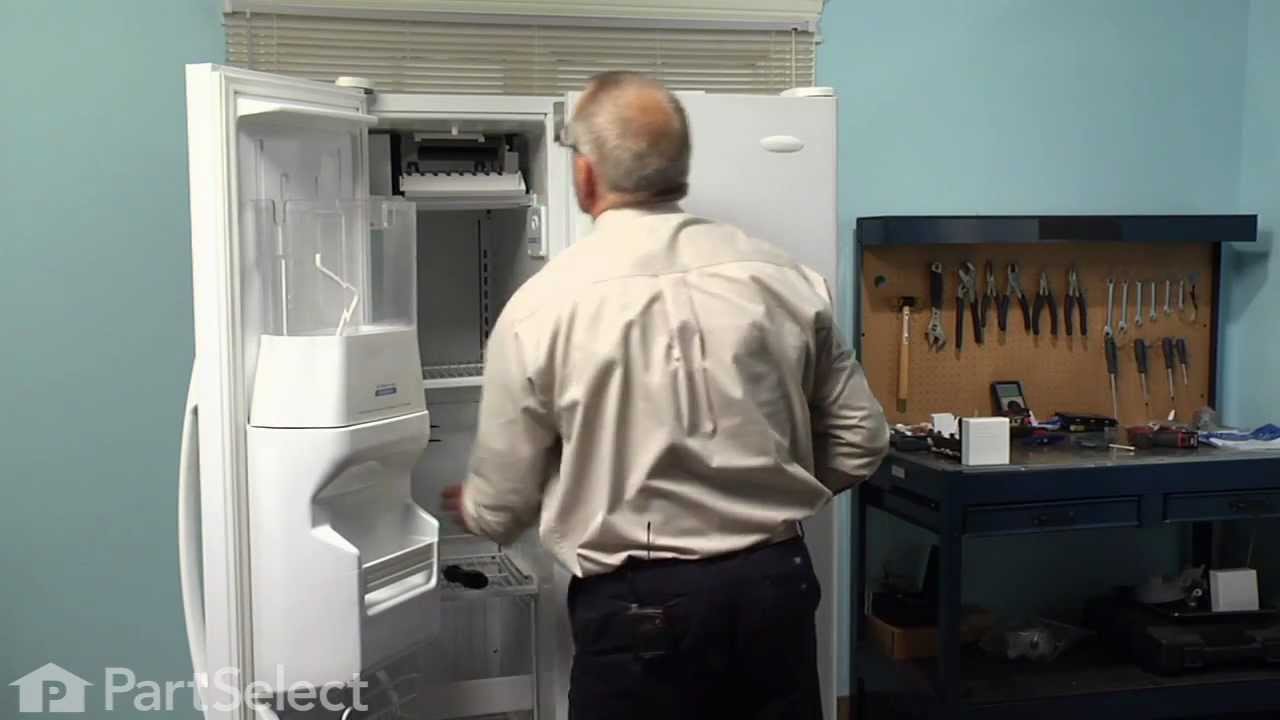
First things first: unplug that fridge! Seriously, don't skip this. We're dealing with electricity and water, and nobody wants a shocking surprise.
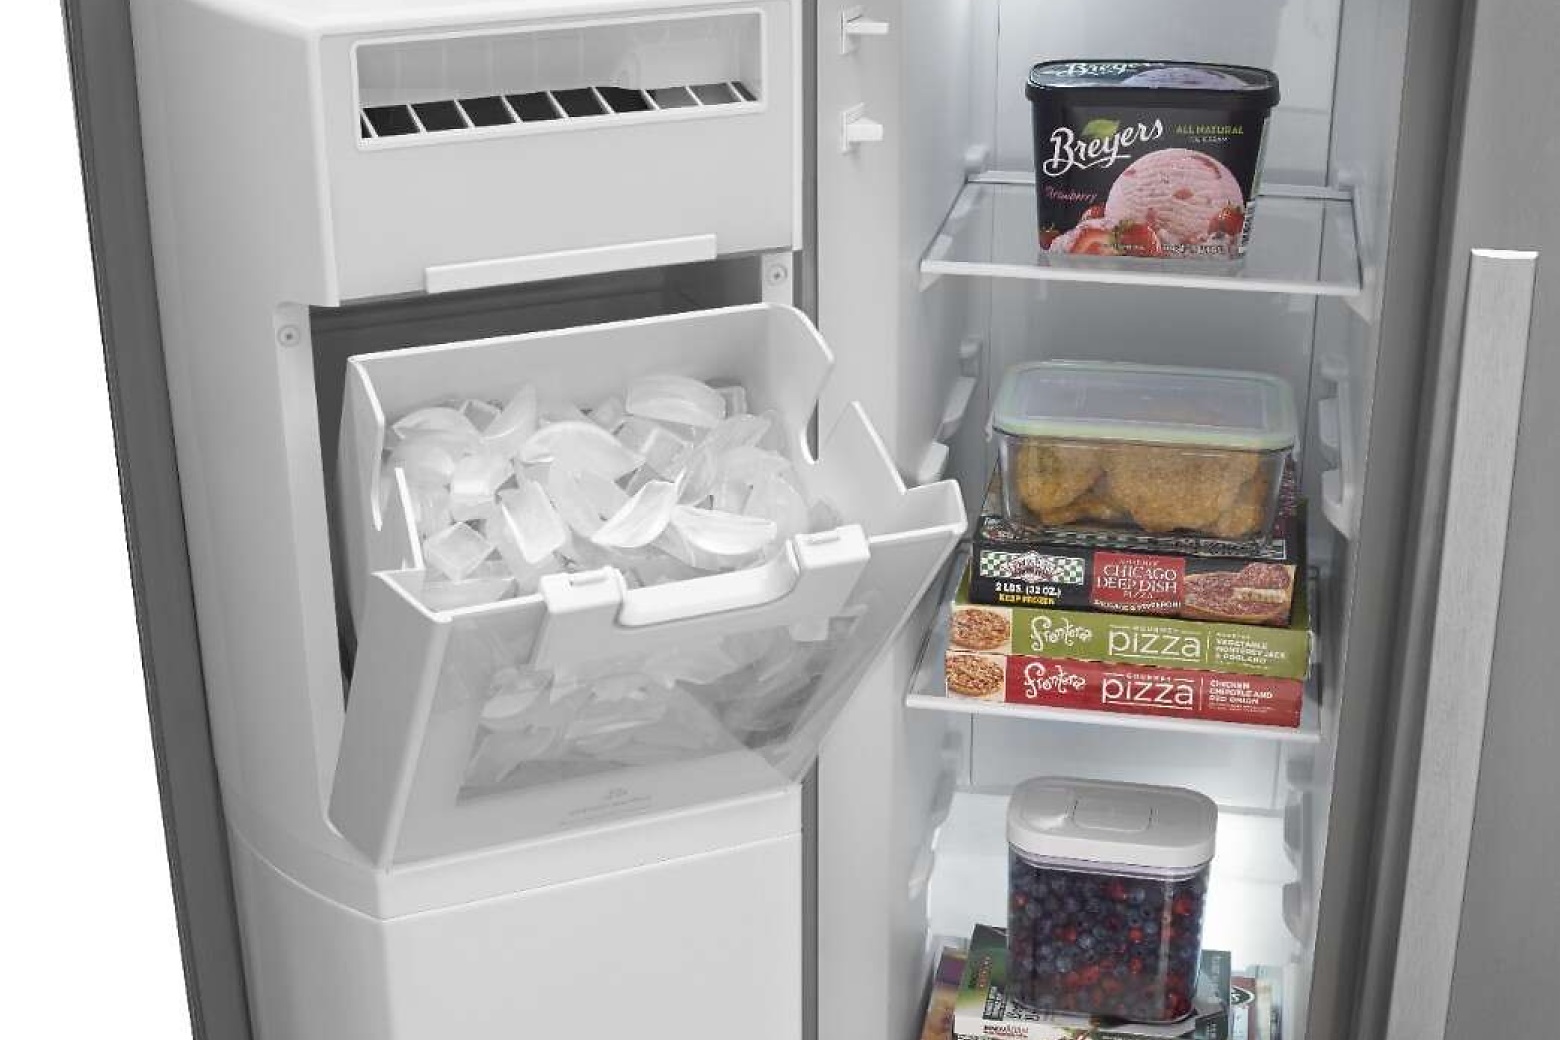
Next, channel your inner Marie Kondo and declutter the freezer shelf where the ice maker resides. You need room to maneuver, not a frosty avalanche of mystery meats.
Step 2: Disconnect the Wiring Harness
Spot the wiring harness connected to the ice maker? It's usually got a little clip holding it in place.
Give that clip a gentle squeeze and wiggle the harness free. Don't yank it like you're starting a stubborn lawnmower – finesse is key! Remember, we're going for surgeon-like precision, not demolition derby.
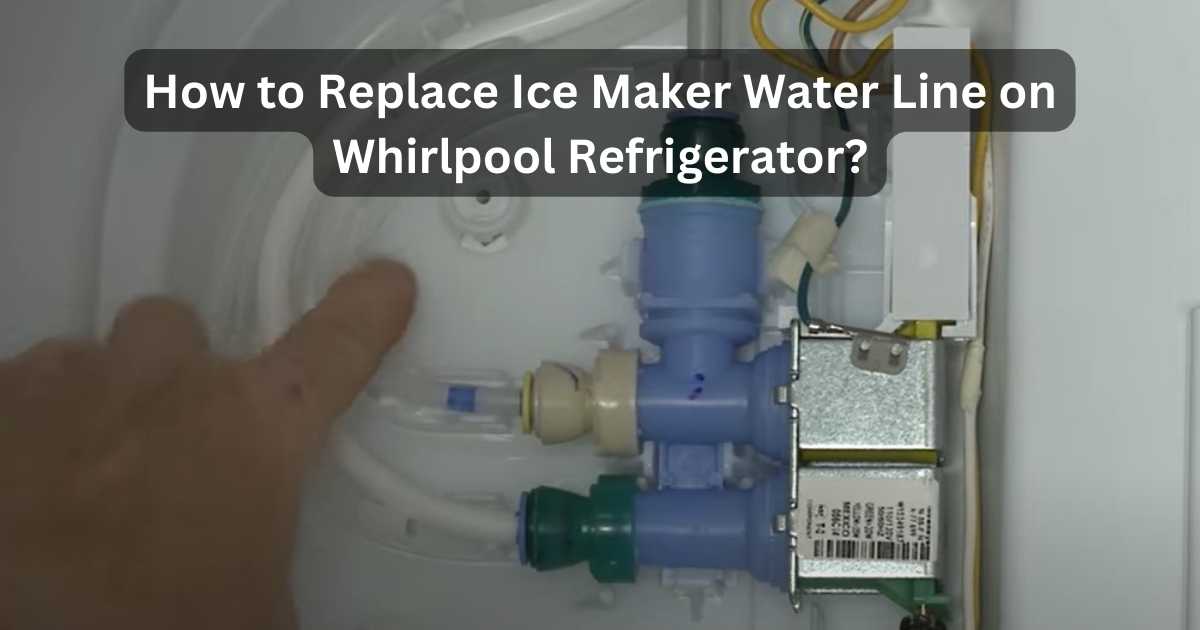
Step 3: Disconnect the Water Line
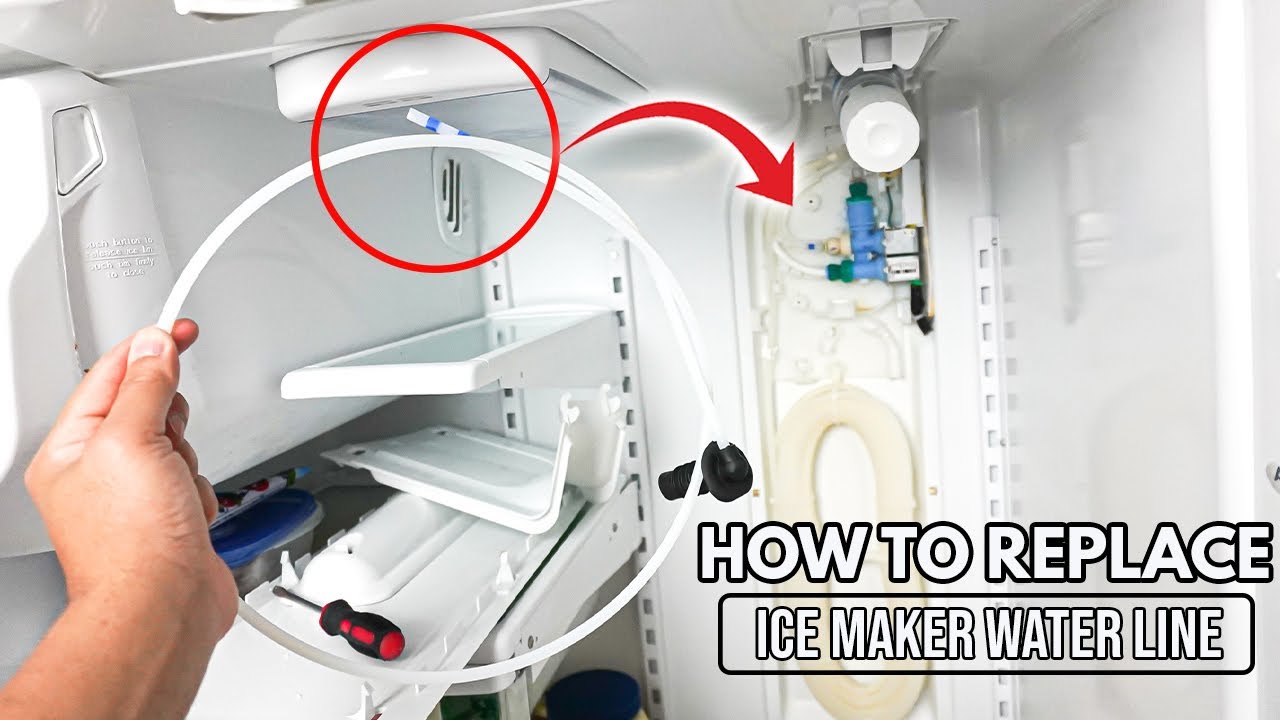
Now, locate the water line that feeds the ice maker. It's usually a small plastic tube.
Most Whirlpool fridges have a simple push-to-release fitting. Push the little collar surrounding the tube inwards, then gently pull the tube out. If it's being stubborn, a little wiggle might help. Picture yourself freeing a tiny, frozen Indiana Jones from a booby-trapped temple.
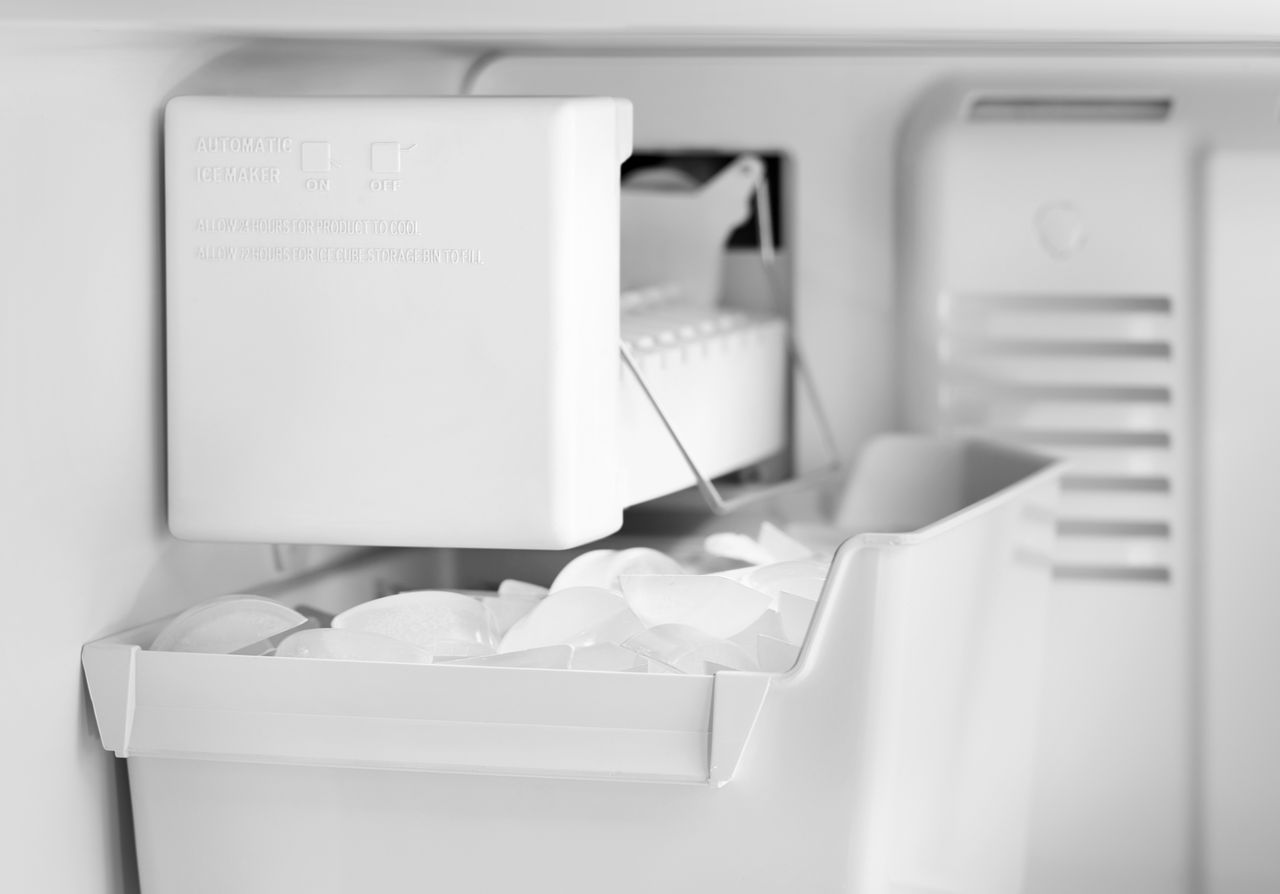
Step 4: Remove the Old Ice Maker
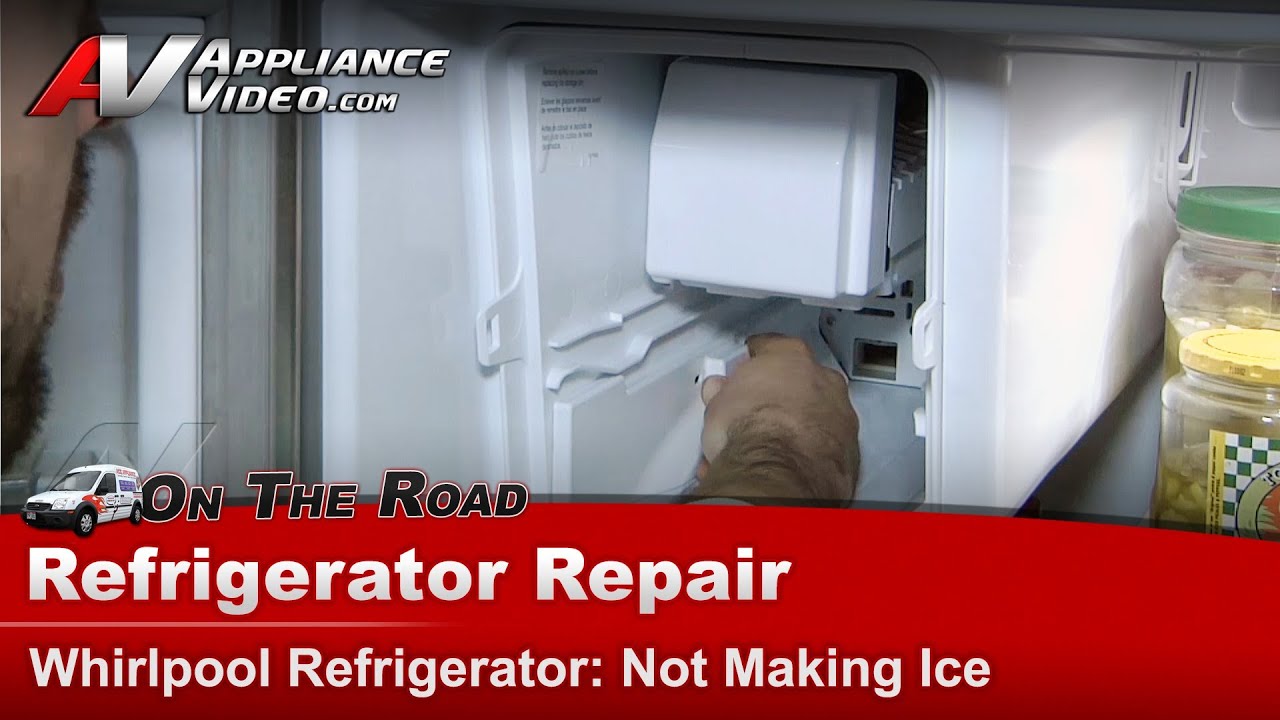
Almost there! The ice maker is usually held in place by a couple of screws or snap-in tabs.
Inspect the mounting system closely. If it's screws, grab your screwdriver and unscrew them. If it's tabs, gently pry them outwards to release the ice maker. Think of it as carefully extracting a wisdom tooth, but way less painful (hopefully!).
Step 5: Install the New Ice Maker
Now for the fun part: installing the shiny new ice maker! Simply reverse the steps you just took.
Line up the new ice maker with the mounting holes or tabs and secure it in place. Make sure it's snug, but don't over tighten the screws – you're not trying to crush it into oblivion.
Step 6: Reconnect the Water Line
Push the water line firmly into the fitting until it clicks. Give it a gentle tug to make sure it's secure.
No click? Something's not right! Double-check that the tube is fully inserted. You don't want a surprise water fountain in your freezer later.
Step 7: Reconnect the Wiring Harness
Plug the wiring harness back into its socket until you hear a satisfying click. This ensures a secure electrical connection.
Tuck any loose wires neatly away so they don't get snagged on anything. A tidy freezer is a happy freezer!
Step 8: Plug It In and Test!
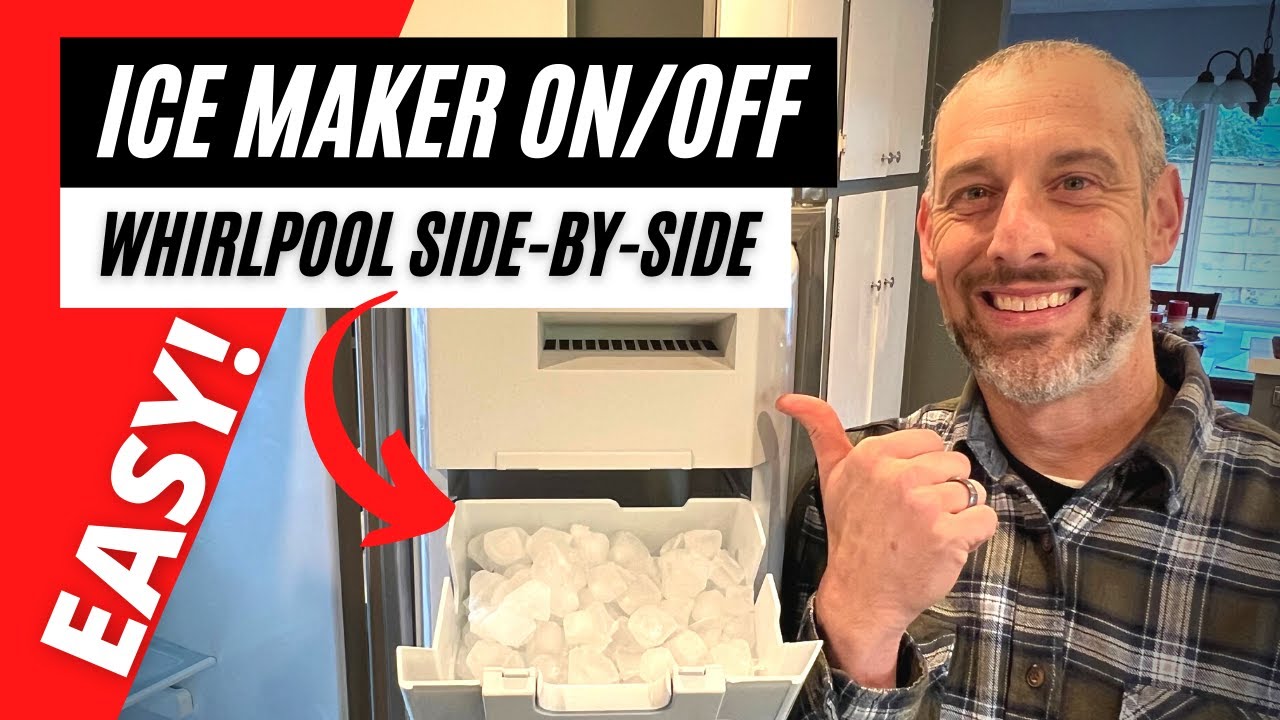
Plug the fridge back in and cross your fingers! Listen for the sweet sound of the ice maker whirring to life.
It might take a few hours for the ice maker to start producing ice, so be patient. Soon you'll be swimming in a sea of frosty goodness! If it doesn't start making ice within 24 hours, double-check all your connections. You might have missed a step.
Step 9: Celebrate!
Congratulations! You've successfully replaced your ice maker! Time for a celebratory drink, preferably one with plenty of ice.
You're a DIY rockstar! Bask in the glory of your accomplishment and the refreshing chill of your newly functional ice maker. This isn't just a repair; it's a testament to your handiness!
Now that your Whirlpool fridge is making ice, you can enjoy this accomplishment.