Alright, so the kitchen sink is dripping again, huh? Sounds like your Moen faucet is staging a tiny, watery protest. No worries, we can fix this! It's usually just a grumpy old cartridge needing a retirement package.
First, you'll need a few treasures. Think of it like prepping for a mini-adventure! Gather an Allen wrench set, a flathead screwdriver, a new Moen cartridge (the right one for your faucet model is key!), and maybe some pliers for moral support. Oh, and a towel. Because, you know, water.
Let's Get Started (the Fun Part!)
Turn off the water! Seriously, find those shut-off valves under the sink. Pretend you're defusing a bomb, but instead of wires, you're turning knobs. Righty-tighty, lefty-loosey works here too!
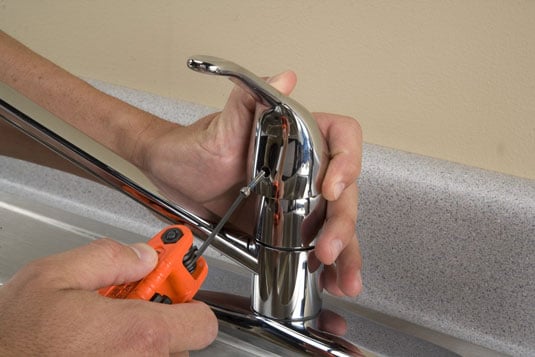
Now, loosen the set screw. Usually hiding behind or under the handle. Use your Allen wrench – the right size is crucial, don't strip it! Think Goldilocks and the Three Bears, but with tools.
Handle off! Gently wiggle the handle off. It might be a bit stubborn, so a little persuasion might be needed. Now, the decorative cap is next, sometimes threaded, sometimes just pops off.
Unveiling the Cartridge
Remove the retaining clip. It's a small U-shaped piece holding the cartridge hostage. Use your flathead screwdriver to coax it out. Remember where it goes – it's like a tiny puzzle piece!
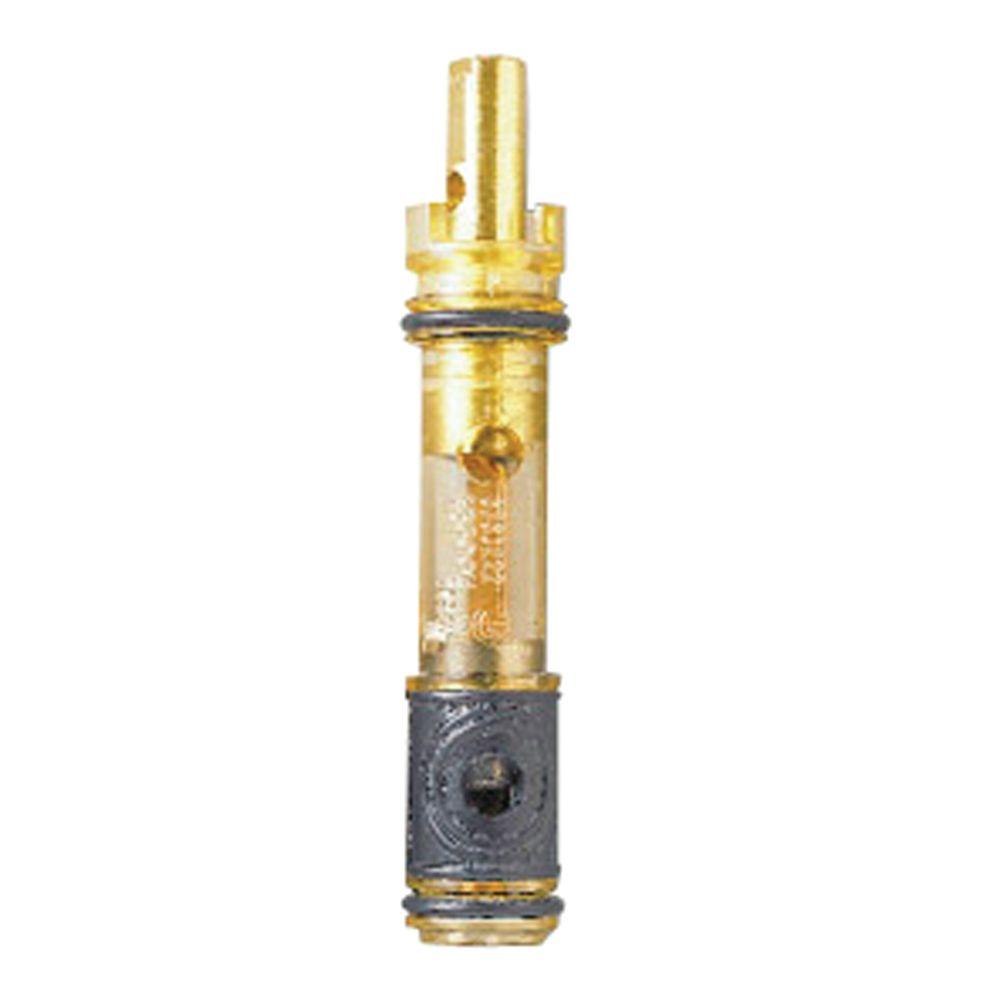
Now comes the moment of truth! Time to pull out the old, grumpy cartridge. This can be a bit like wrestling a greased piglet. If it's stuck, try wiggling or using pliers. Be gentle, but firm!
Eureka! You've got it out. See how worn and sad it looks? That's the culprit behind your watery woes. Time for a fresh start!
Installing the New Cartridge
Before popping in the new cartridge, give the faucet housing a quick clean. Get rid of any gunk or mineral buildup. Make sure everything is nice and smooth for the new arrival.
Insert the new Moen cartridge. Line it up correctly – there's usually a "hot" and "cold" side, so pay attention to the markings. It should slide in smoothly, like butter on a hot skillet.
Replace the retaining clip. Push it back into place, making sure it's secure. This little guy is important – he keeps everything snug and happy.
Reassemble the faucet. Decorative cap goes on, handle goes on, and the set screw gets tightened. Don't overtighten the set screw, just snug it up nicely.
The Grand Finale
Turn the water back on! Slowly and cautiously. Check for leaks around the faucet base and handle. Cross your fingers and toes!
Test the faucet. Hot water, cold water, everything working smoothly? If you have water, and no leaks, then you’ve done it! Congratulations, you’re now a certified kitchen faucet whisperer!
Clean up your tools and admire your handiwork. You just saved yourself a plumber bill! Now, go grab a beverage of your choice. You deserve it!


