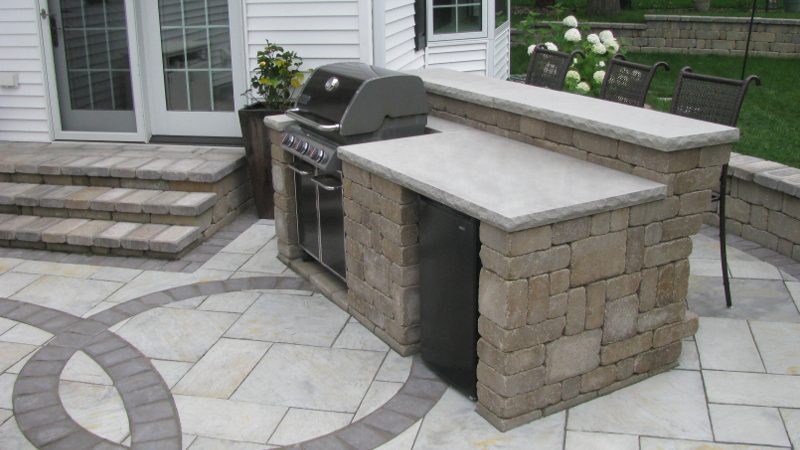
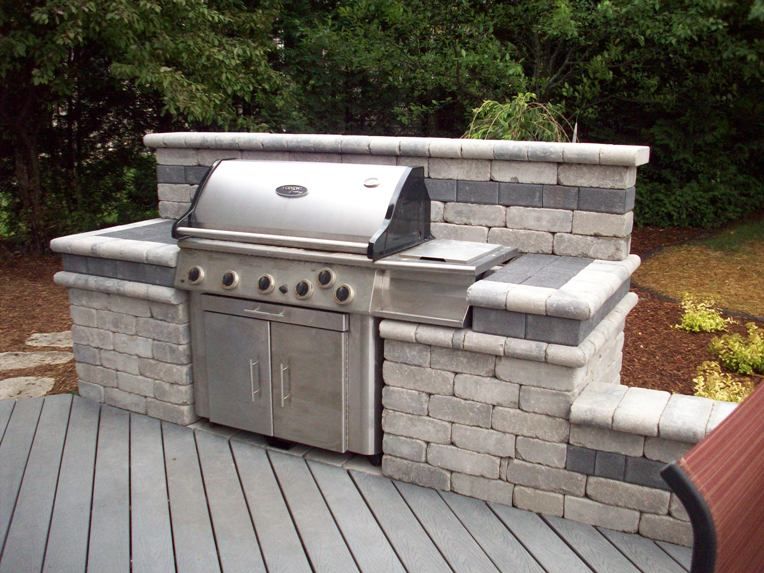
So, you're thinking about grilling, huh? Not just any grilling, but serious grilling. The kind that deserves a stage, a spotlight, a… paver pad? Buckle up, buttercup, because we’re about to get our hands dirty!
The Great Paver Pilgrimage
First, the adventure begins! A trip to your local hardware store is necessary. You’ll be greeted by mountains of stone, each whispering tales of ancient quarries and suburban barbecues.
Don't be intimidated by the sheer variety. Just grab a few pavers you like. Think of it as picking out tiles for a giant, delicious-smelling mosaic.
Pro Tip: Bring a friend! Pavers are surprisingly heavy. This will save your back, and provide comedic relief when one of you inevitably trips over a rogue bag of gravel.
Location, Location, Delicious Location
Now, scout out your grill’s future home. Remember, we’re building a kingdom, however small, for our fiery friend. Make sure it’s far enough from the house so you don't accidentally smoke out your in-laws. (Unless…)
And for the love of all that is holy, make sure it's level-ish. No one wants a grill that leans like a drunken sailor. Trust me on this one.
Imagine your grill, majestic and proud, presiding over its new domain. Visualize the sizzling steaks, the perfectly charred veggies. Ah, the possibilities!
Digging In (Literally)
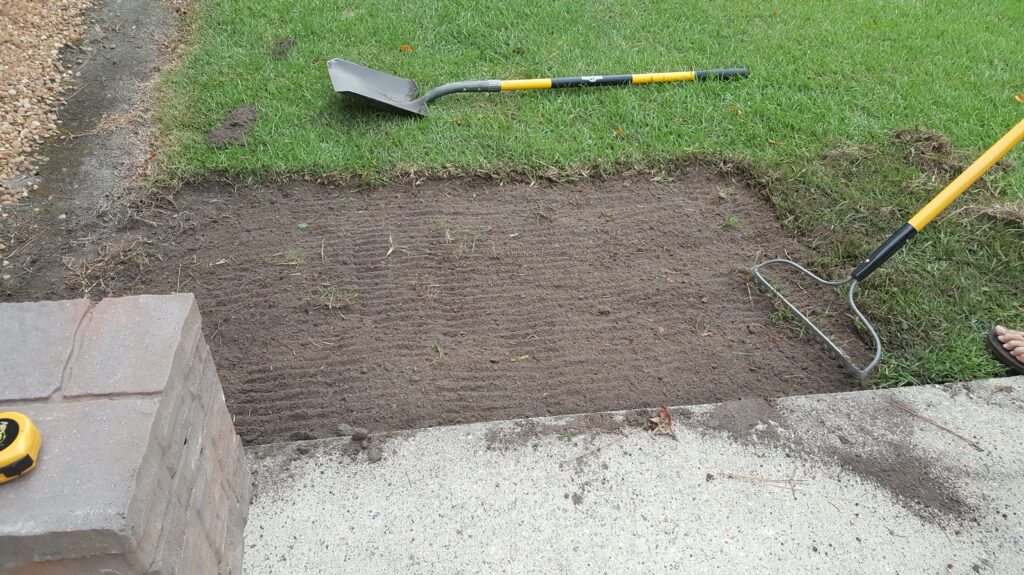
Okay, time to get medieval (with a shovel). You're going to clear out the grass where your pavers will sit. Don't worry about being perfect; we’re not building the pyramids here.
Just dig down a few inches. Think of it as making a cozy little bed for your pavers. A bed filled with… well, dirt.
This part is surprisingly therapeutic, by the way. Who knew wielding a shovel could be so stress-relieving? It's cheaper than therapy, and you get a grill pad out of it. Win-win!
Sand: The Unsung Hero
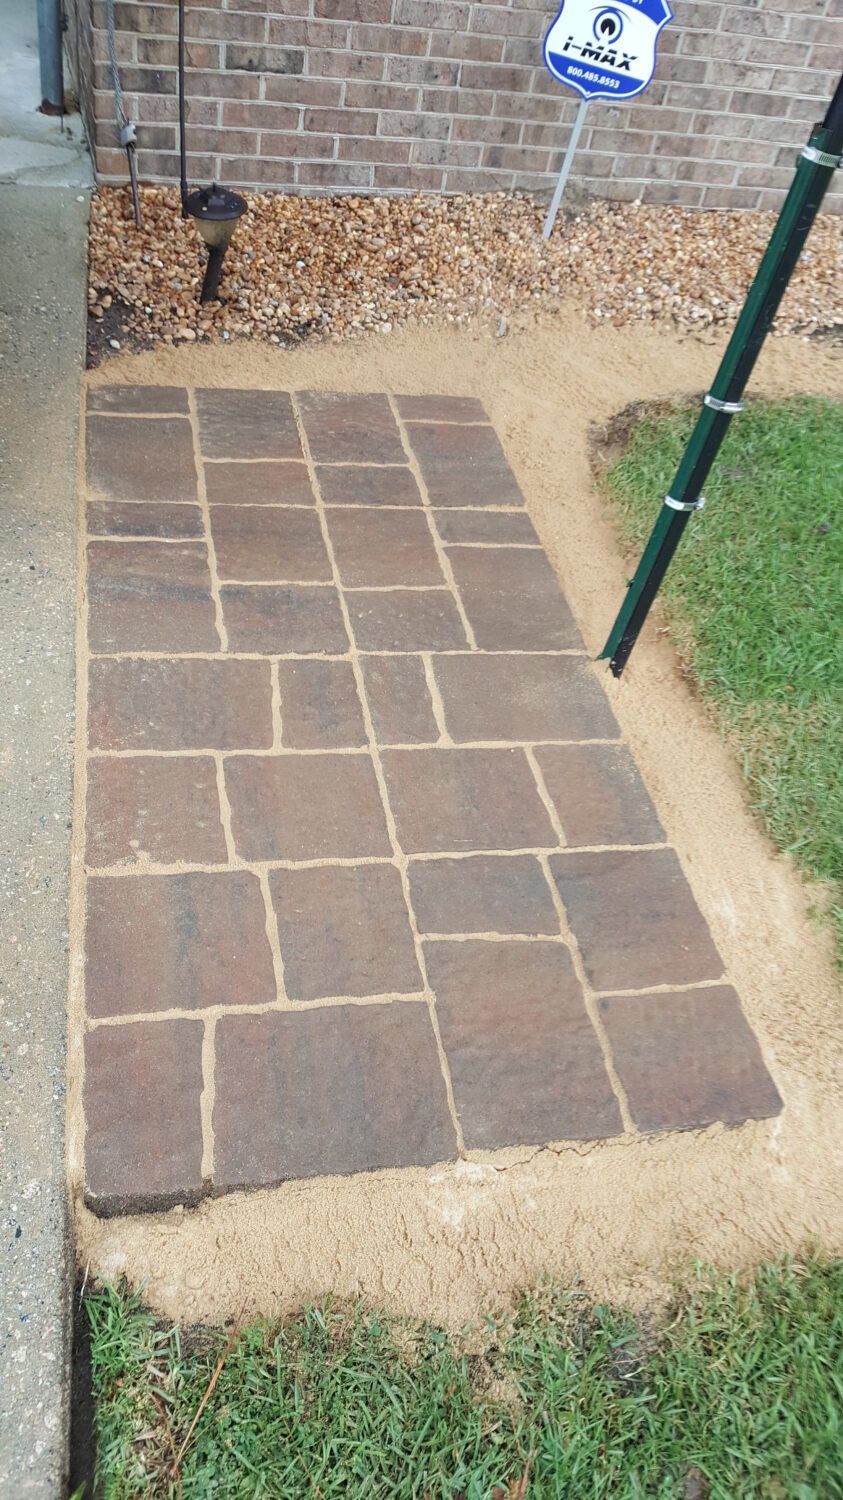
Next, it’s sand time! Pour a layer of sand into your dug-out area. This acts like a cushion for the pavers. Picture tiny sand angels fluffing your paver’s pillows.
Level it out as best you can. A 2x4 piece of lumber works great as a leveling tool. Again, perfection is the enemy of done. Just make sure it's reasonably flat.
Sand is the unsung hero of this operation. It fills in the gaps, provides stability, and generally makes everything better. Kind of like that one friend who always brings the perfect dip to the party.
Paver Placement: It's Like Tetris, But With Rocks
Now, the moment of truth! Carefully place your pavers onto the sand. Arrange them in whatever pattern tickles your fancy. Don't be afraid to get creative!
Tap them gently with a rubber mallet to settle them into the sand. Imagine you're tucking them in for the night. Little paver lullabies optional.
Step back and admire your handiwork. It's starting to look like something! You’re practically a landscape artist at this point.
Grouting for Glory (Optional, But Recommended)
If you're feeling fancy, you can add grout between the pavers. This helps keep them in place and makes the pad look more finished. Think of it as the eyeliner for your paver masterpiece.
Just sweep the grout into the cracks and brush off the excess. It’s surprisingly satisfying to watch those little crevices fill up.
Note: Make sure to follow the instructions on the grout package. Unless you want a cement-covered patio.
Grill Time!
Behold! You have created a magnificent paver pad! Now, roll out your grill and bask in the glory of your accomplishment.
Fire up the grill and start cooking. Your steaks have never tasted so good. You've earned it!
Stand back and admire your masterpiece. You did it! You’re the king (or queen) of the grill pad. Now go forth and barbecue!


