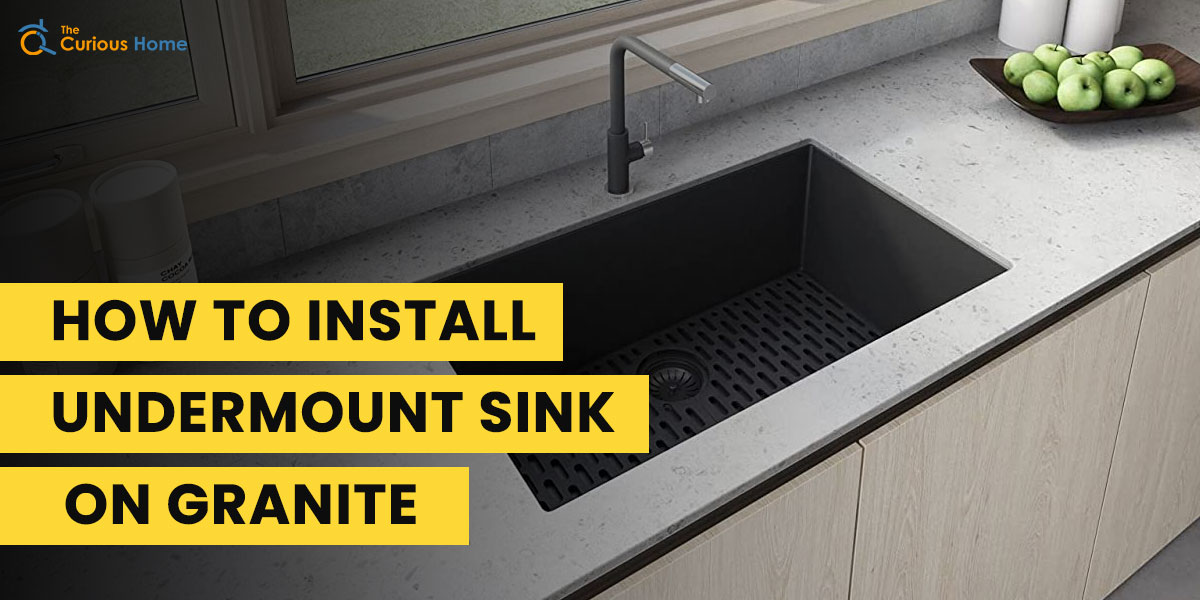
Ever wondered how a sleek, undermount sink magically hangs beneath a gorgeous granite countertop? Forget those fiddly clips! We're diving into a world of smooth surfaces and hidden strength. Get ready for a surprisingly satisfying DIY adventure.
The No-Clip Charm
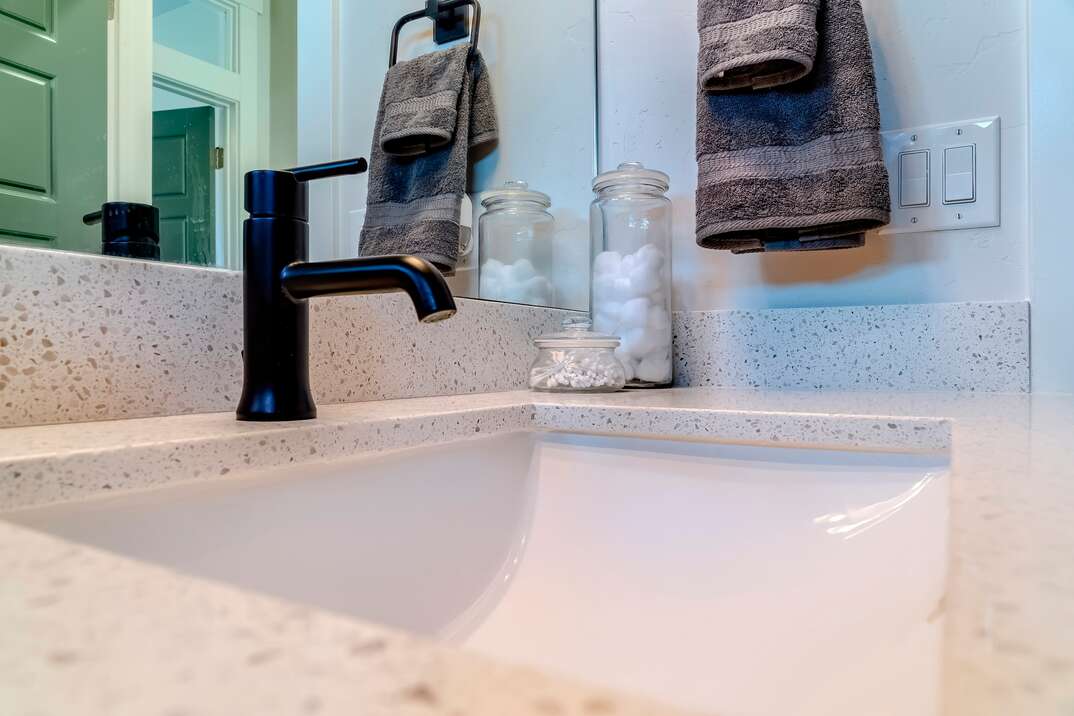
What's the big deal about skipping clips? Well, imagine a pristine granite surface, uninterrupted by clunky metal brackets. That's the beauty of this method! It's all about achieving a clean, modern look.
Plus, cleaning is a breeze! No more grime hiding in those hard-to-reach clip crevices. Just a smooth wipe and you're done.
Gather Your Arsenal
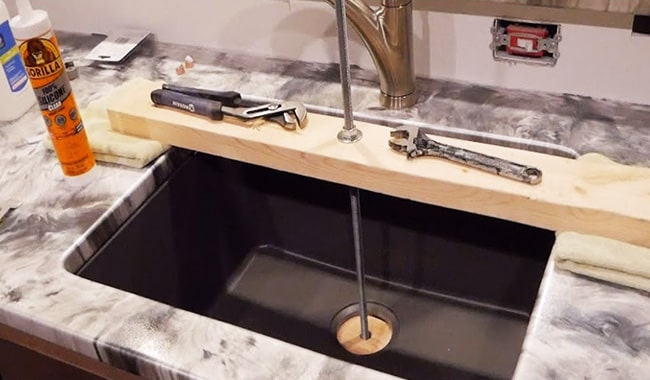
First, you'll need your undermount sink, naturally. And some 100% silicone caulk – the superhero of adhesion! A sturdy support system is key while the caulk cures.
Think wood bracing or even a strategically placed stack of books. (Just kidding… mostly!) You'll also need some acetone or rubbing alcohol and clean rags.
Prepping is Key (and Kind of Fun!)
Give the underside of your granite countertop a good cleaning. Really scrub it! This ensures the silicone has a solid surface to grip. Use acetone or rubbing alcohol for extra degreasing power.
Next, dry-fit your sink. This means holding it in place to see how it aligns with the countertop opening. Adjustments now save headaches later. Plus, it's a chance to admire your future handiwork!
Caulk It Like You Mean It
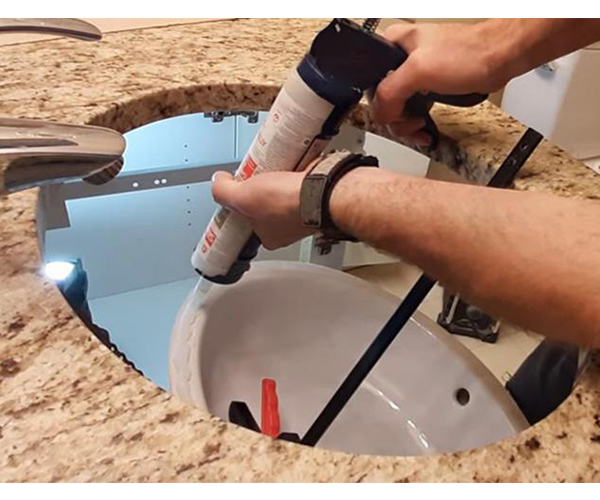
Now for the magic ingredient: silicone! Apply a generous, continuous bead of silicone caulk around the entire rim of the sink. Don’t be shy! You want a strong, watertight seal.
Carefully position the sink under the granite. Press it firmly into place. Make sure it's aligned perfectly. This is your moment to shine!
Support System Activation!
This is where your support system comes in. Prop the sink up against the underside of the granite. Make sure it's held securely in place.
Let the silicone cure completely. This usually takes 24-48 hours. Patience is a virtue, especially when it comes to DIY projects.
Cleanup and Celebration
Once the silicone is fully cured, remove the supports. Admire your handiwork! Isn't it beautiful? You've successfully installed an undermount sink without clips!
Clean up any excess silicone with a razor blade. Be careful not to scratch the granite. Step back and revel in your accomplishment.
Why This is Awesome
This method offers a super clean aesthetic. It is easier to clean and also more accessible. You get to use your own tools to make something beautiful.
You might even discover a hidden talent for home improvement! So, grab your tools and get ready to transform your bathroom.
Don't be afraid to get your hands dirty. This is where the fun begins! Good luck and happy sinking!
Remember to always consult manufacturer instructions for your specific sink and sealant. And if you ever feel overwhelmed, don't hesitate to call in a pro. But where's the fun in that?