Ever thought about turning your humble abode into a palace, one plank at a time? You can! Installing hardwood floors yourself isn't some Herculean task reserved for the pros. It's more like a fun puzzle with a seriously rewarding payoff.
The Thrill of the DIY Floor
Picture this: you, armed with a hammer and a dream, transforming a drab room into a warm, inviting space. Seriously, it's like giving your room a stylish makeover! And the best part? You get to take all the credit.
There’s a certain satisfaction that comes from building something with your own two hands. Forget retail therapy. Hello, floor therapy!
Gather Your Arsenal
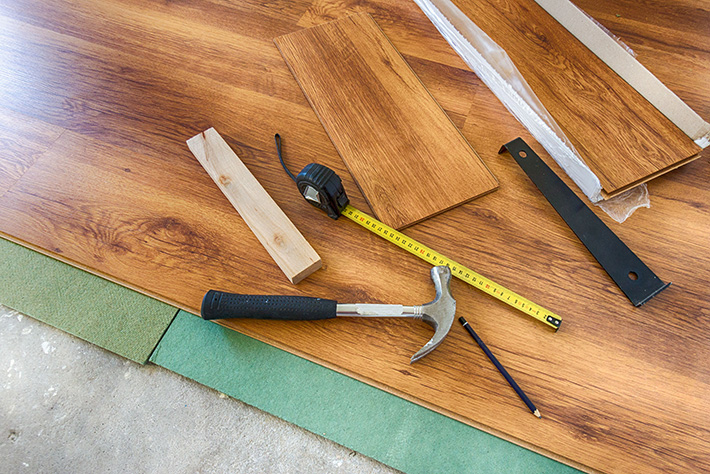
First, you'll need your materials. Think of it as prepping for a crafting adventure! You'll need your gorgeous hardwood planks, of course.
Grab a moisture meter to test the wood and subfloor. A tapping block and mallet will help you get the planks into position. Don't forget safety glasses and knee pads – looking good and feeling good is key!
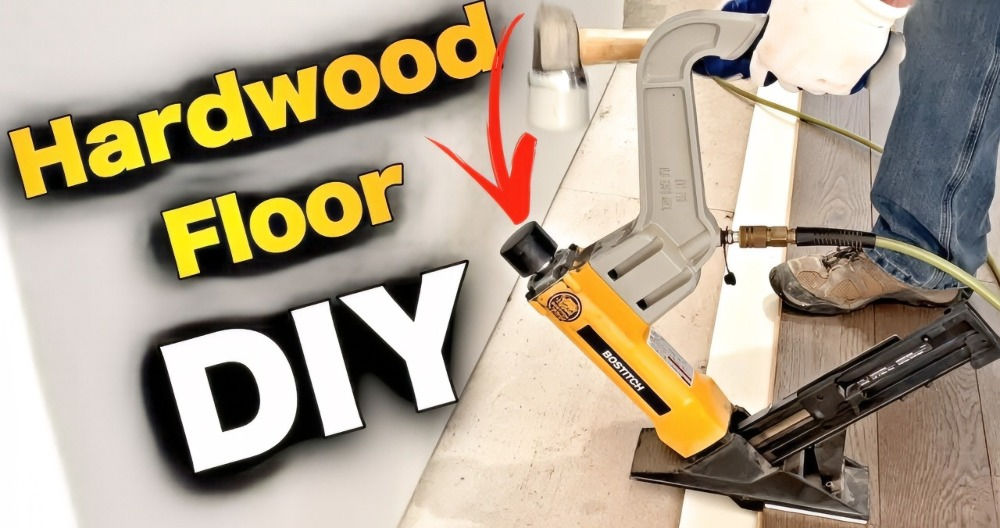
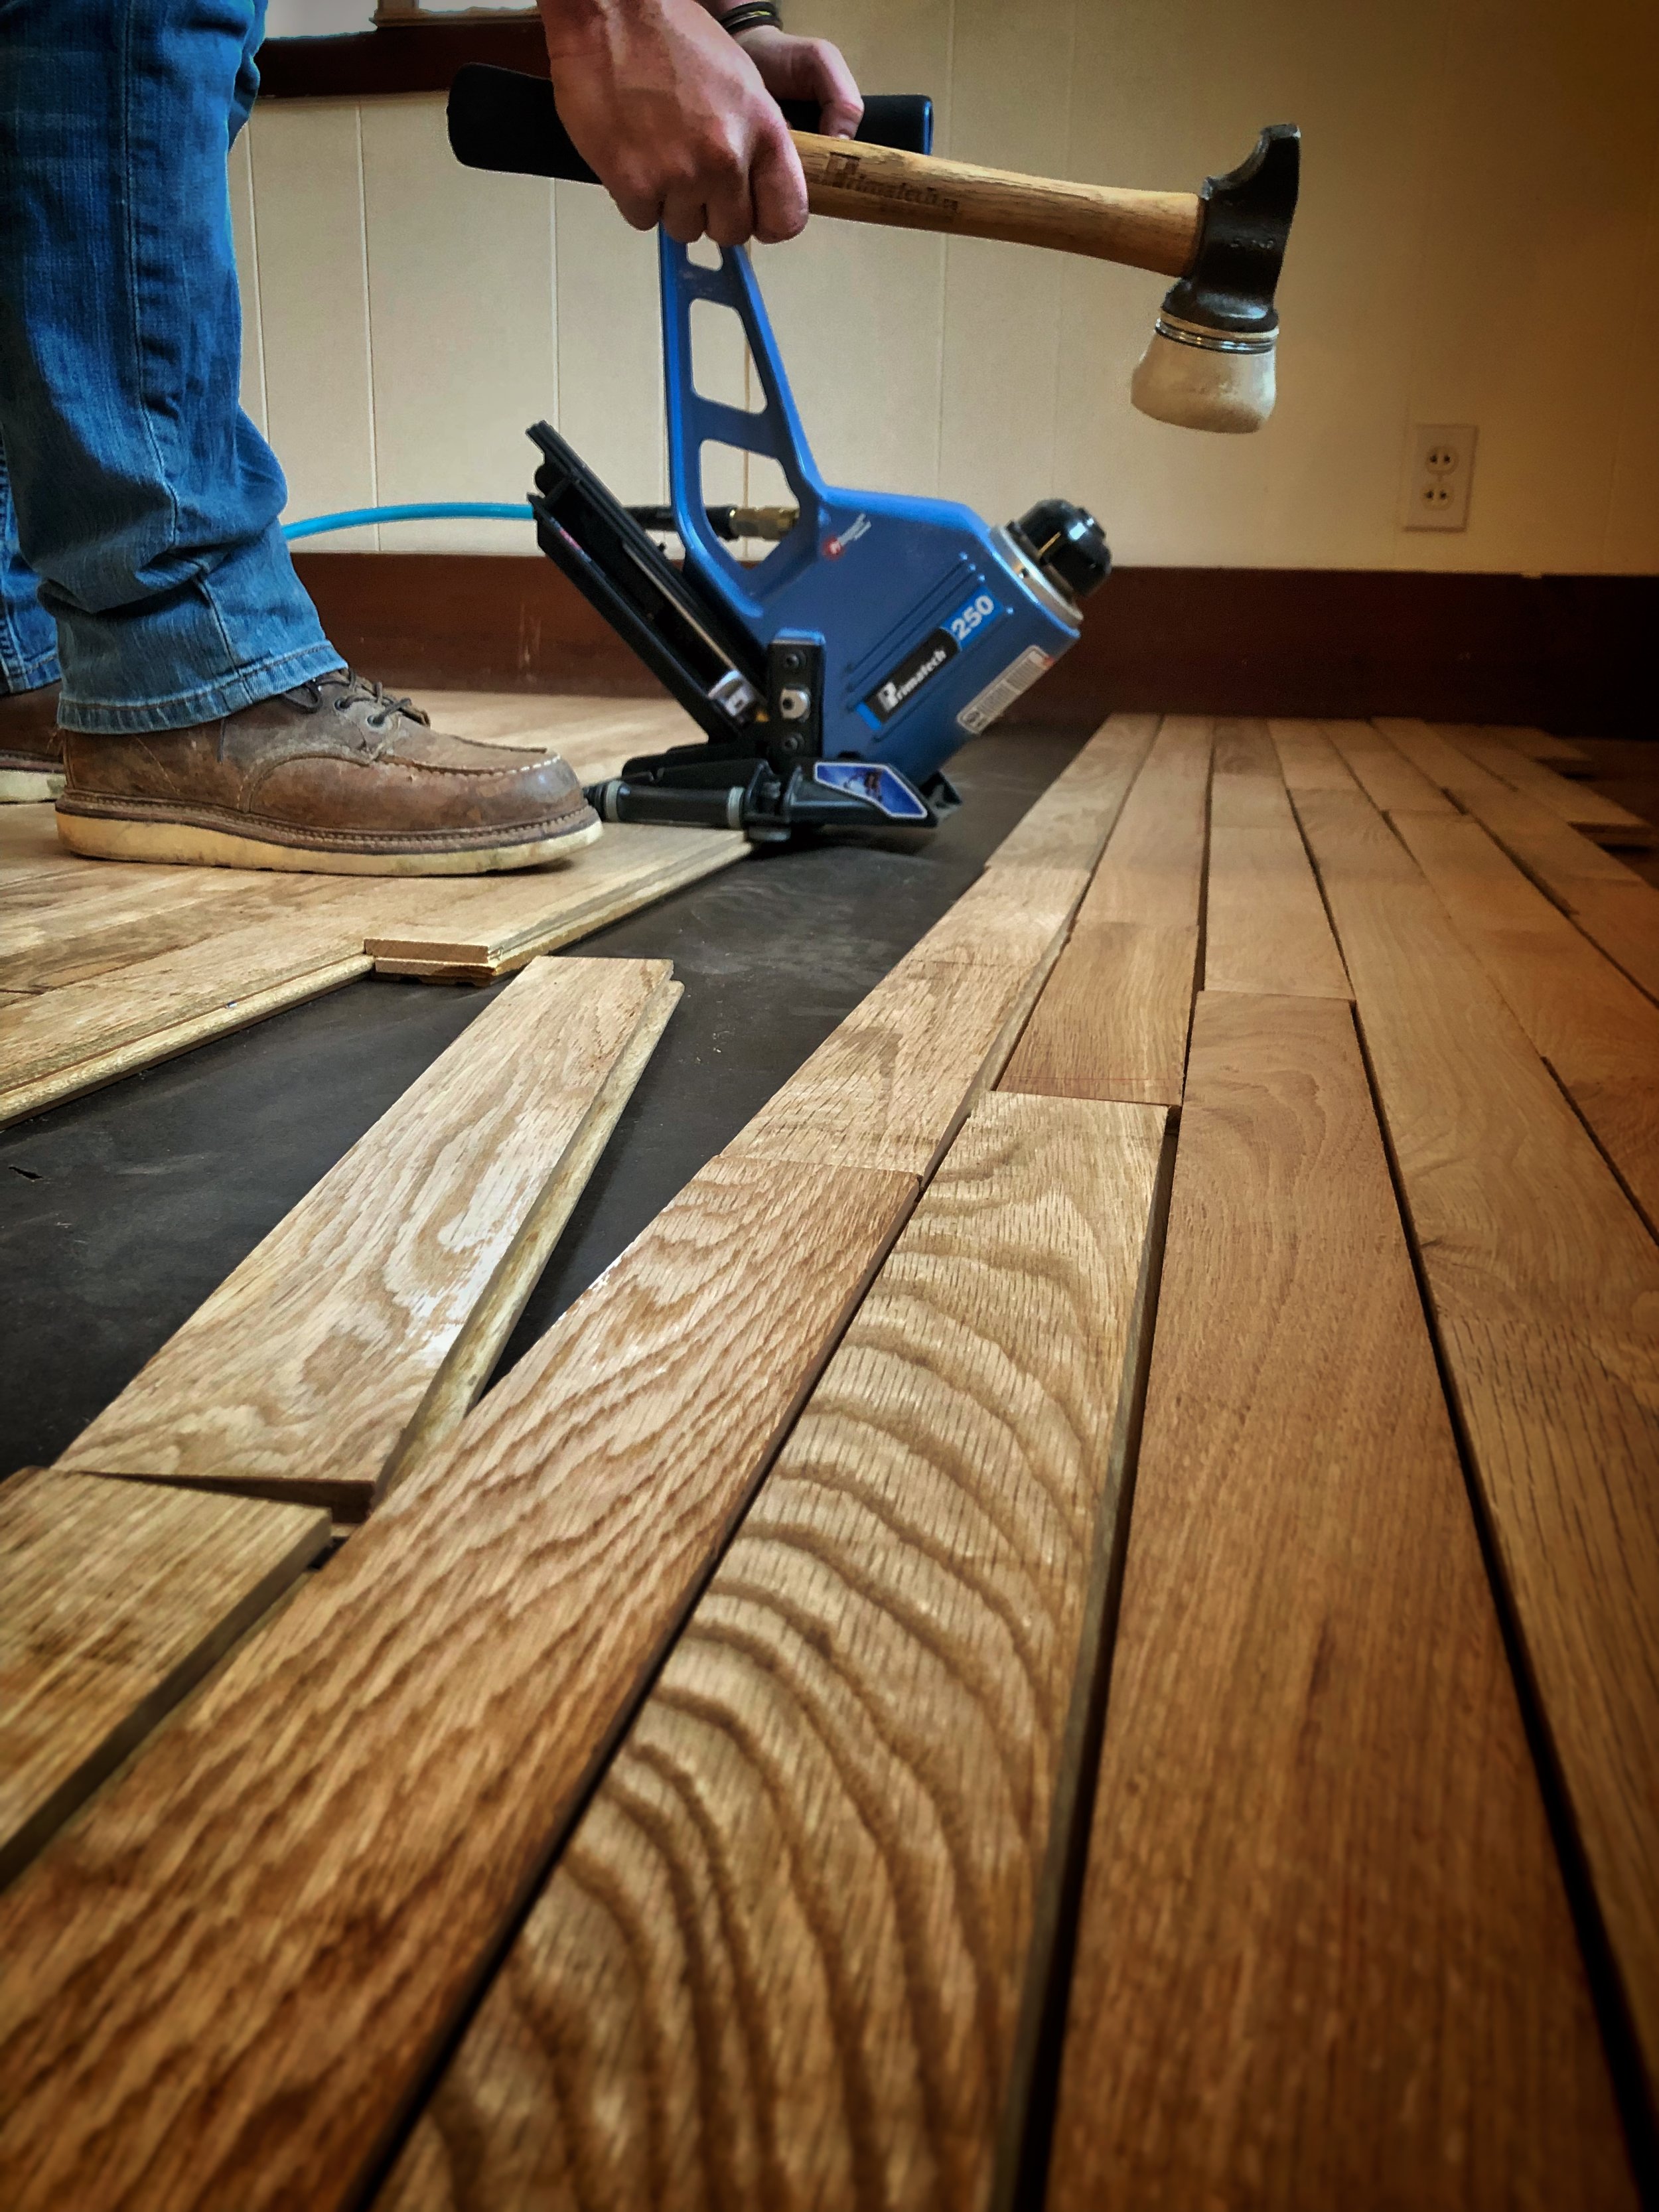
Other essential tools include a measuring tape, pencil, saw, and a nail gun (if you're going that route). It's like gearing up for a home improvement quest!
Prepare for Takeoff
Before you start laying planks, make sure your subfloor is clean, level, and dry. A little prep work goes a long way. Imagine it as creating the perfect canvas for your masterpiece.
Acclimatize your hardwood by leaving it in the room for a few days. This lets it adjust to the temperature and humidity. We don’t want any surprises later!
Laying the Foundation (Literally!)
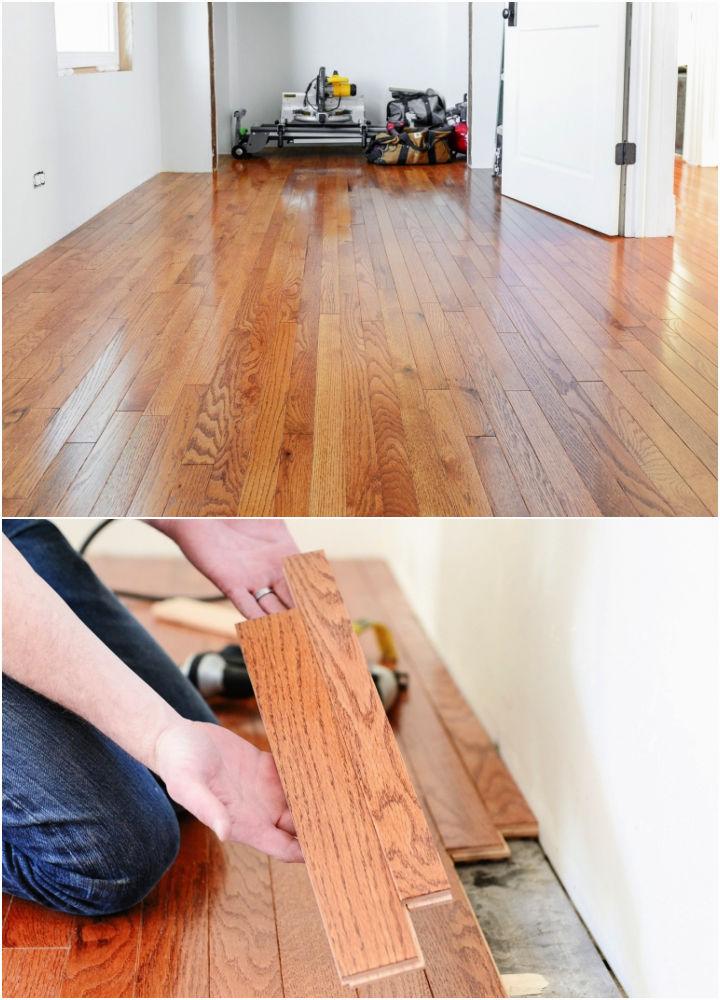
Start by laying a row of planks along the longest wall. Leave a small expansion gap against the wall – wood needs room to breathe! This is like setting the stage for your floor's grand performance.
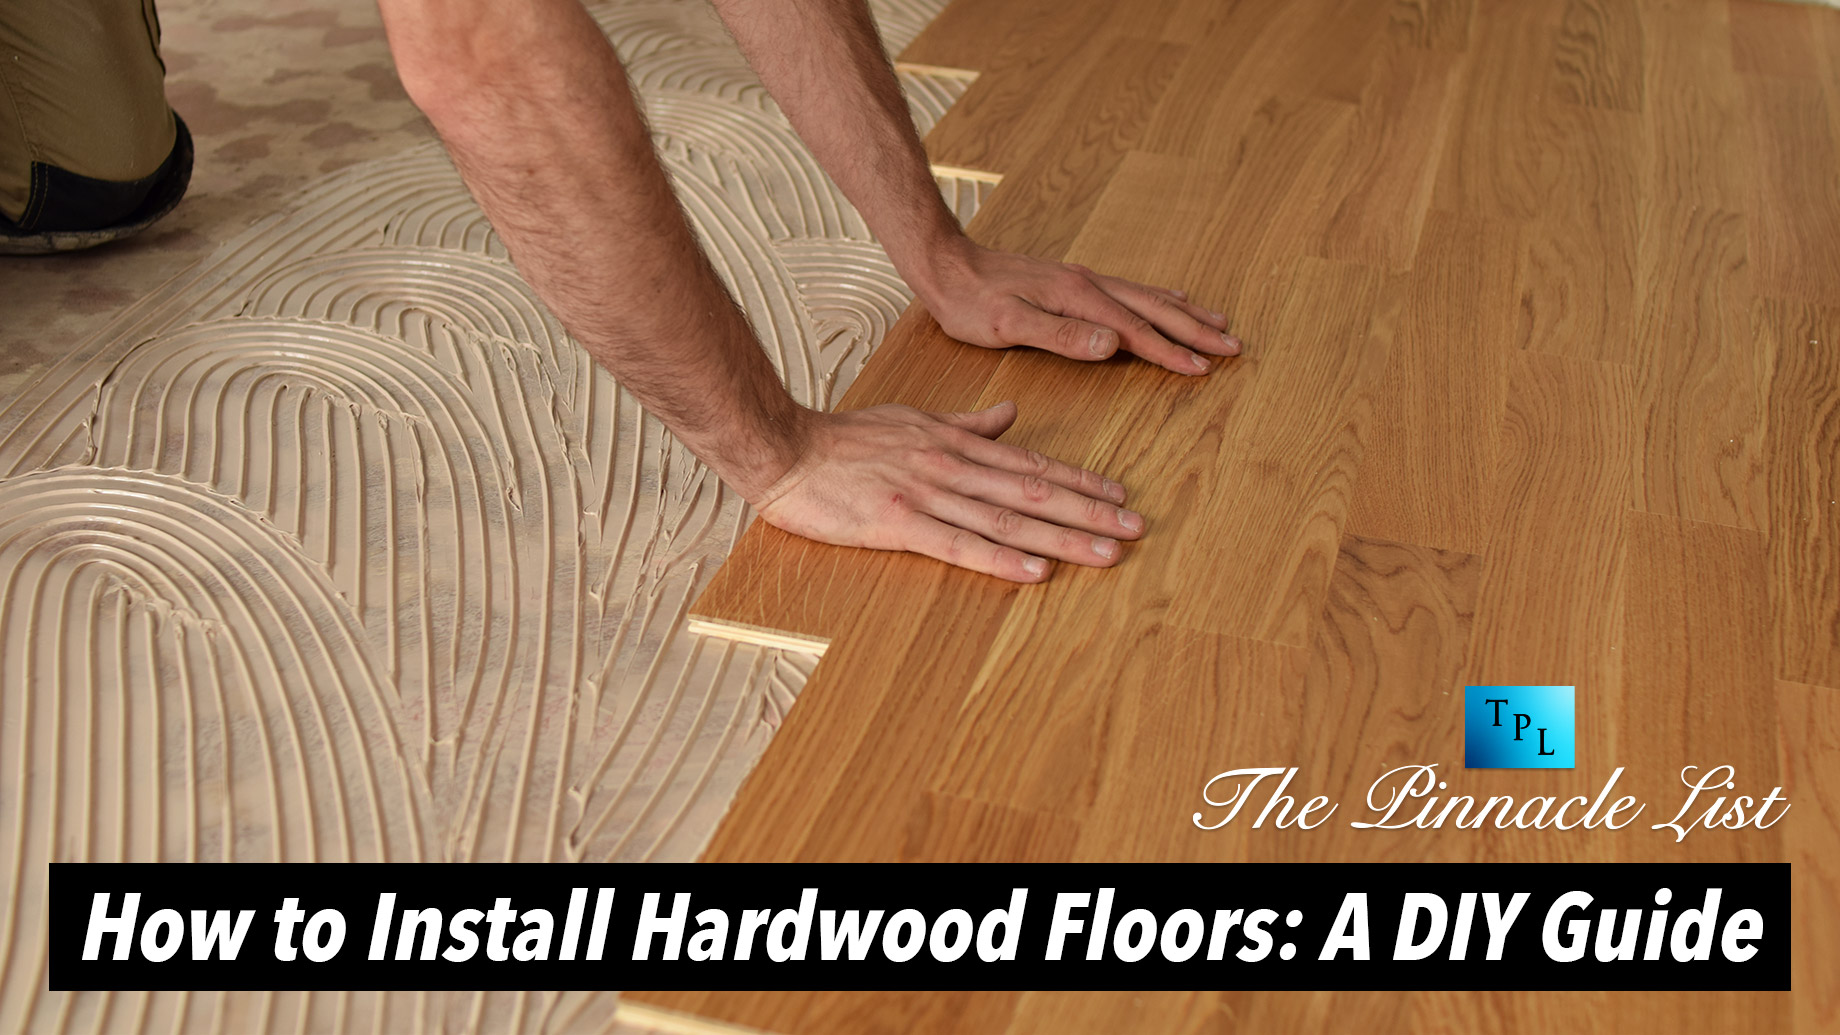
Use spacers to maintain consistent expansion gaps. Secure the first row with nails or glue, depending on the type of flooring you're using. Now, you are in control!
Locking It All In
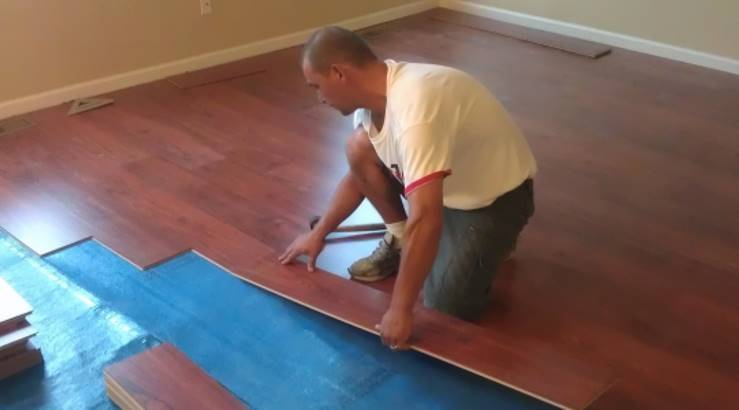
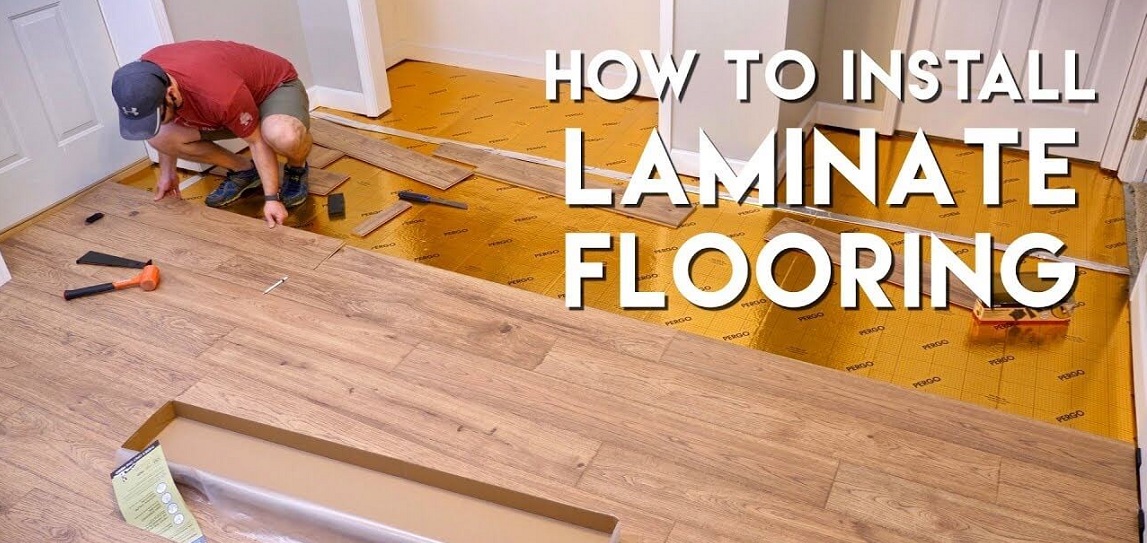
Subsequent rows will lock into the first, creating a seamless surface. Use the tapping block and mallet to gently nudge the planks together. It’s like assembling a giant, beautiful jigsaw puzzle.
Stagger the seams for a more natural look. This also adds strength and stability to the floor. Nobody wants a boring, predictable floor!
Finishing Touches
Once all the planks are down, install baseboards and trim to cover the expansion gaps. These details add a polished, professional look. You are the artist, now show your master touch.
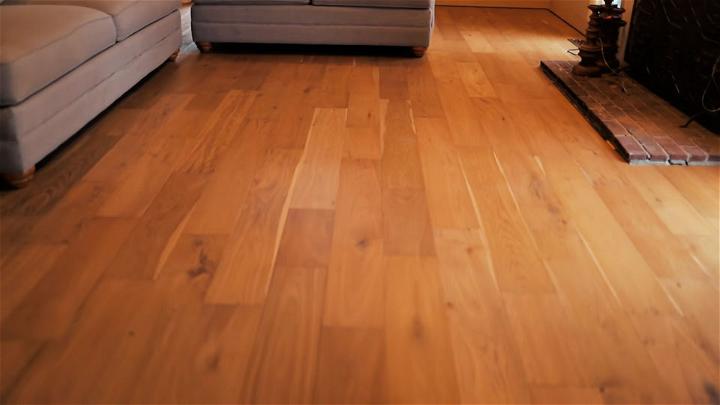
Clean up any dust and debris, and admire your handiwork! You've just transformed a room with your own two hands. Cue the celebratory dance!
The Secret Ingredient: Patience
Installing hardwood floors isn't a race; it's a marathon. Take your time, and don't rush the process. Slow and steady wins the flooring race!
Don't be afraid to make mistakes. Even the pros have their "oops" moments. It’s all part of the learning experience, and honestly, makes for a good story.
And if you get stuck, there are tons of online tutorials and resources available. The internet is your friend. Search for **expert advice**.
Why It's More Than Just a Floor
Sure, you're installing a floor. But you're also building confidence, learning new skills, and creating a space you can be proud of. You are making a statement!
Think about the memories you'll make on that floor – family gatherings, game nights, quiet moments of reflection. It’s not just wood; it's the backdrop to your life.
So, are you ready to unleash your inner flooring ninja? Get ready to say, "I built this!"
And remember, even a "good enough" job can still feel fantastic when you did it yourself.


