So, you've taken the plunge and welcomed a shiny new Amazon Smart Thermostat into your life. Congratulations! Prepare for cozy evenings and a slightly lighter wallet thanks to energy savings (allegedly!). But first, the installation. Don't worry, it's not brain surgery. (Unless you’re a brain surgeon, then it's probably easier.)
The Unboxing: A Moment of Truth
The box arrives, a monument to modern convenience. Rip it open! Inside, you'll find your thermostat, a backplate, some screws, and, the star of our show, the C-wire power adapter. This little gizmo is key, especially if your existing wiring situation is, shall we say, “vintage.”
Step 1: Thermostat Autopsy (The Old One, That Is)
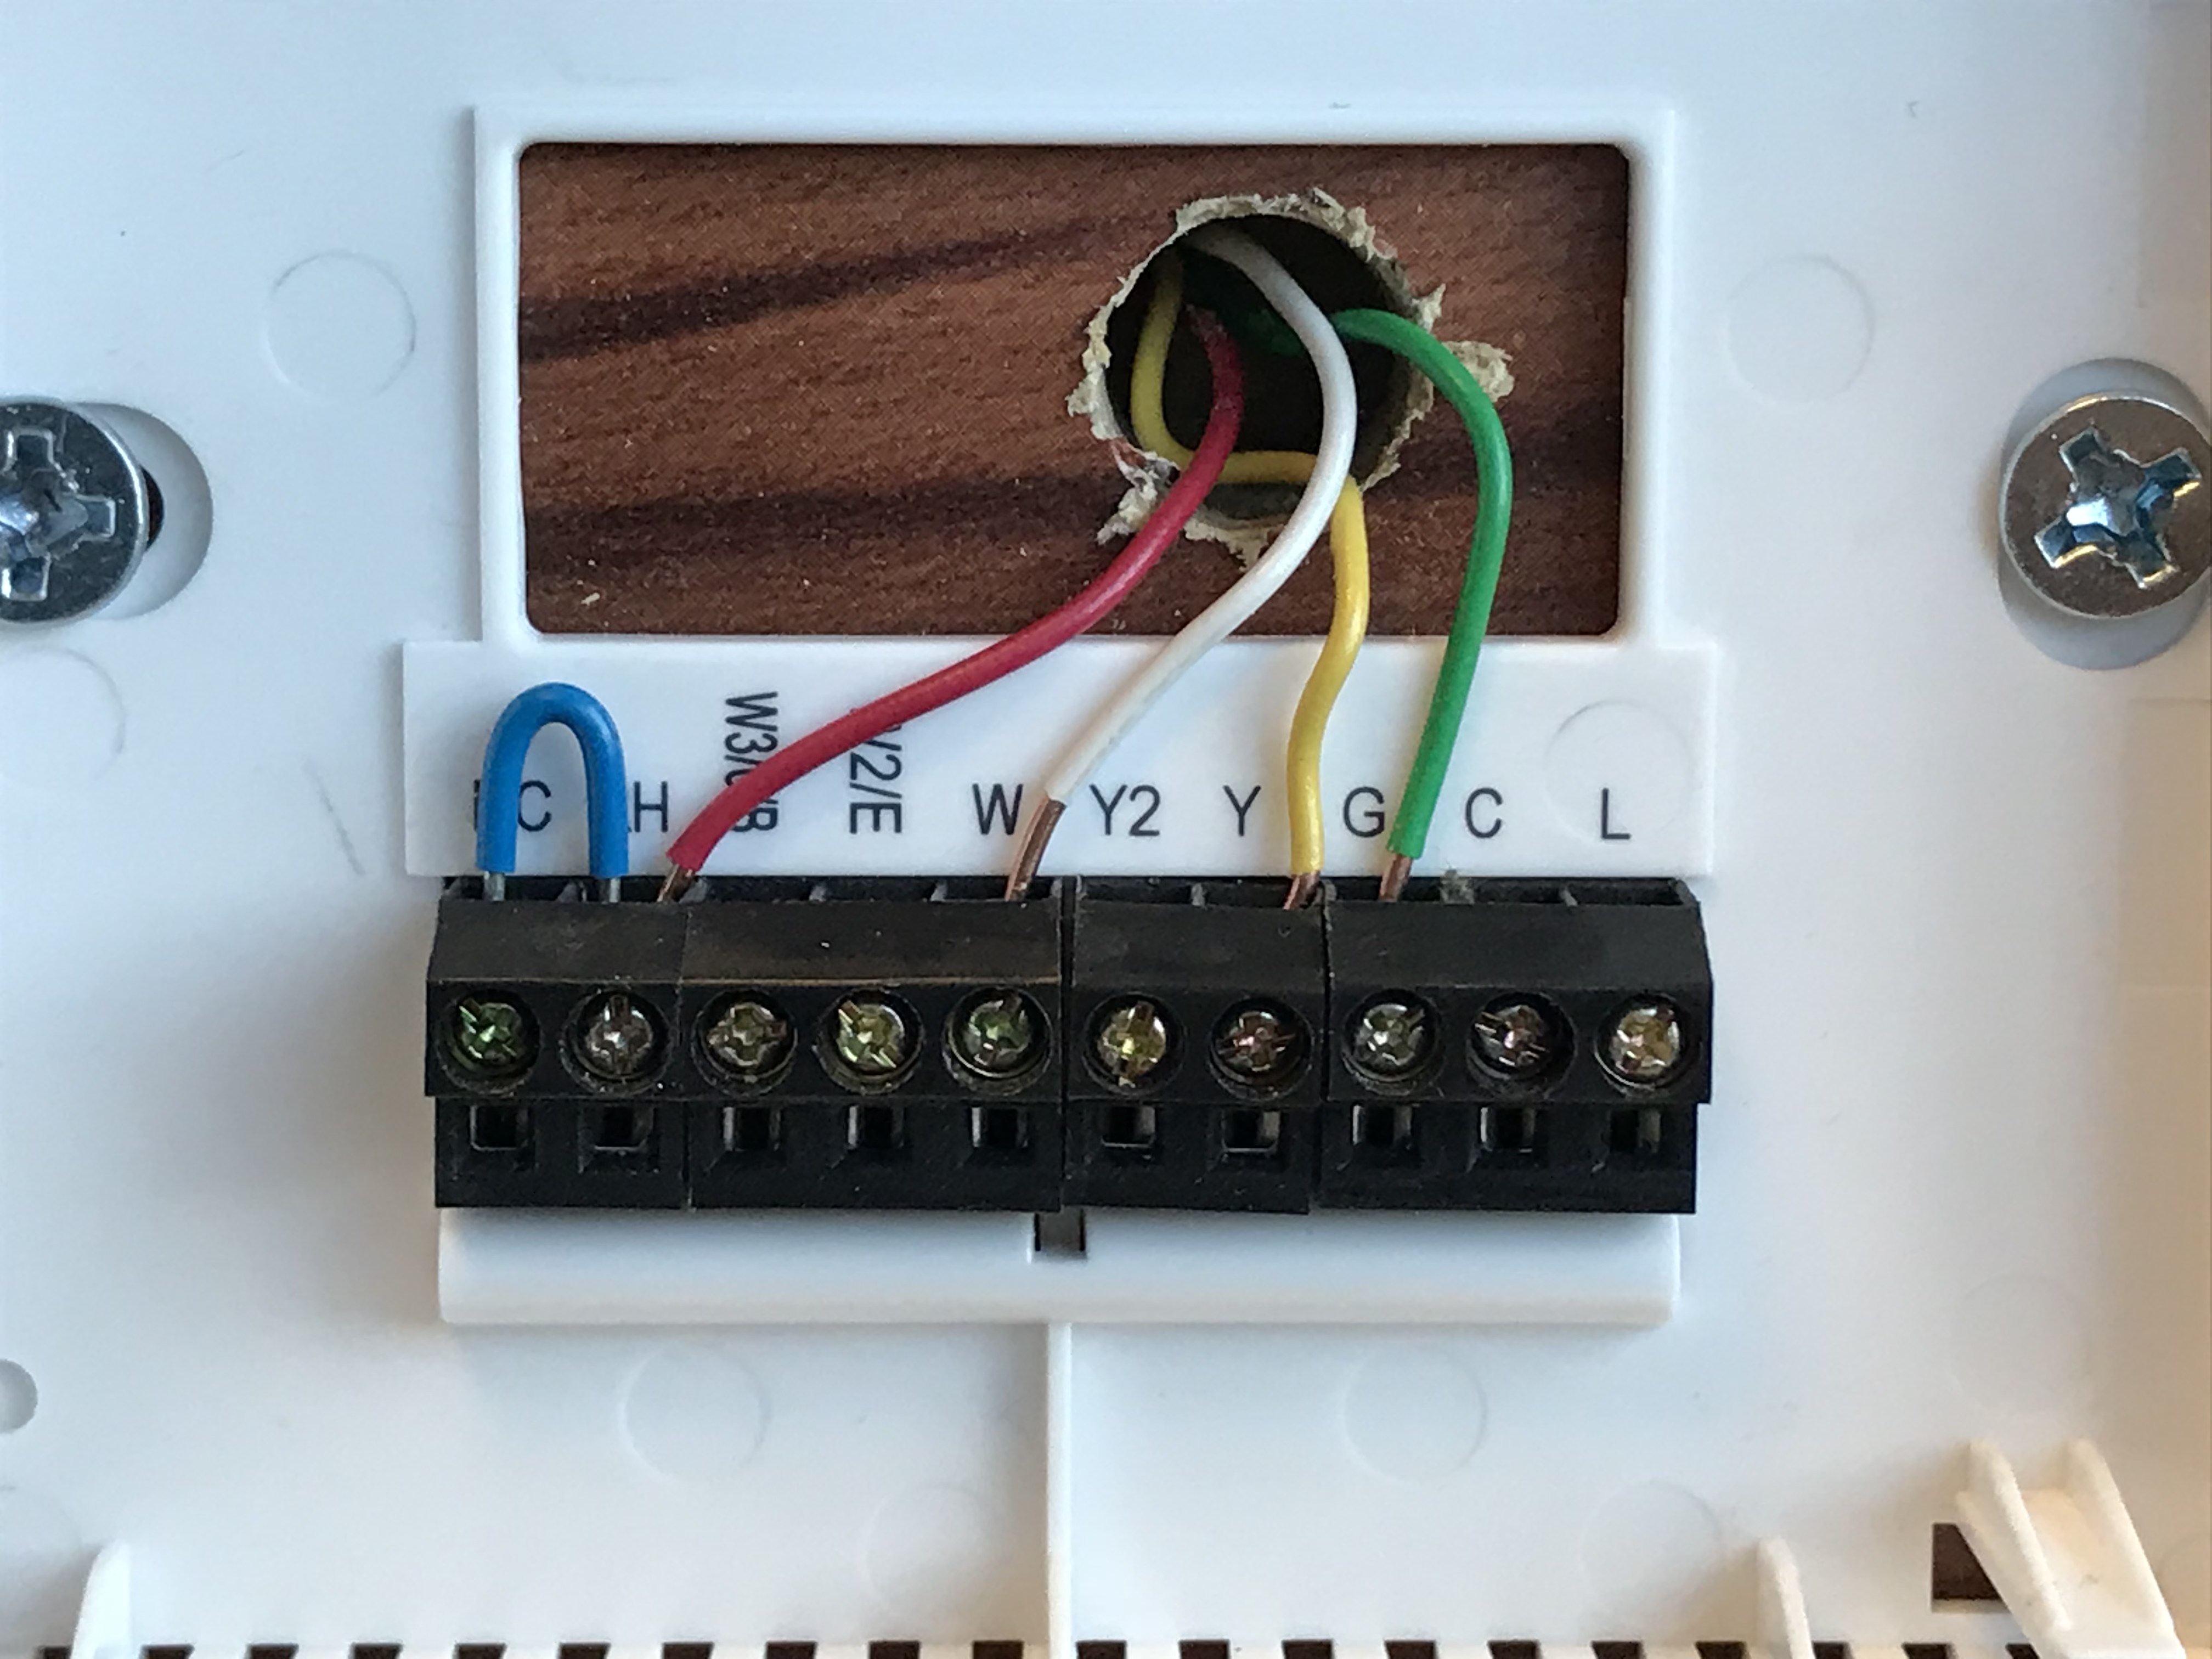
Before you even think about touching the new thermostat, let's examine the patient. Your old thermostat, that is. Turn off the power at the breaker! This is not a suggestion; it's a commandment.
Take a picture of the existing wires! This will be your Rosetta Stone later. Now, carefully disconnect those wires. Think of it as untangling a particularly stubborn Christmas light string, but with slightly higher stakes.
Step 2: Mounting the New Digs
Mount the Amazon Smart Thermostat backplate to the wall where the old thermostat used to live. Use the screws provided. Pretend you're Michelangelo, and the wall is the Sistine Chapel.
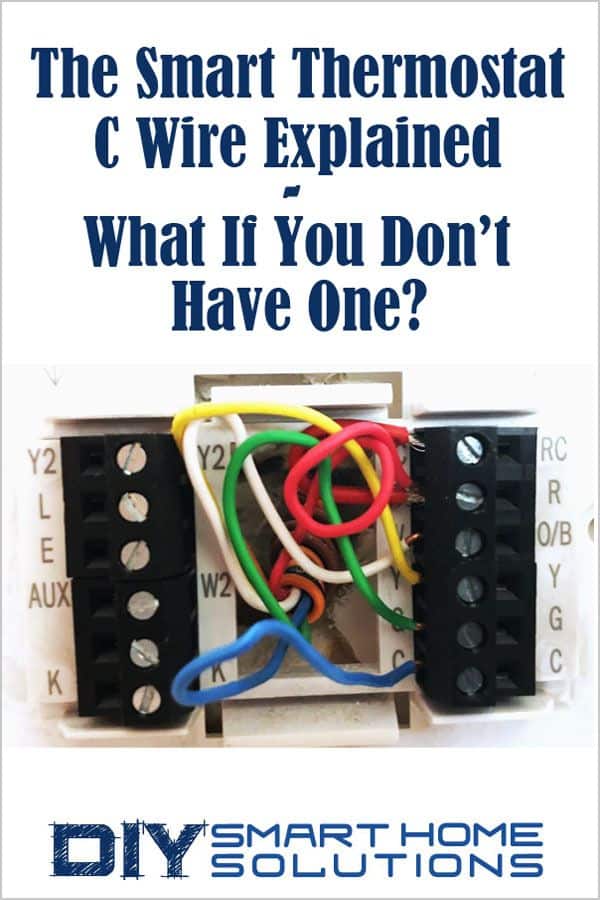
Step 3: The C-Wire Conundrum (And How to Conquer It!)
This is where the C-wire power adapter comes in. It's basically a translator between your furnace and your fancy new thermostat. Follow the instructions included with the adapter. It involves plugging some wires into specific terminals, both at the thermostat and at your furnace.
Don't be intimidated by the furnace! Just think of it as a big, metal marshmallow roaster. The wiring diagram will guide you. It might feel like you're defusing a bomb, but just breathe. And double-check everything!
Step 4: Connecting the Dots (Or, Wires)
Now, connect the wires from the wall to the corresponding terminals on the Amazon Smart Thermostat backplate. Remember that picture you took? This is where it earns its keep! Match those colors and letters like you're playing a high-stakes game of Memory.
Step 5: Power Up!
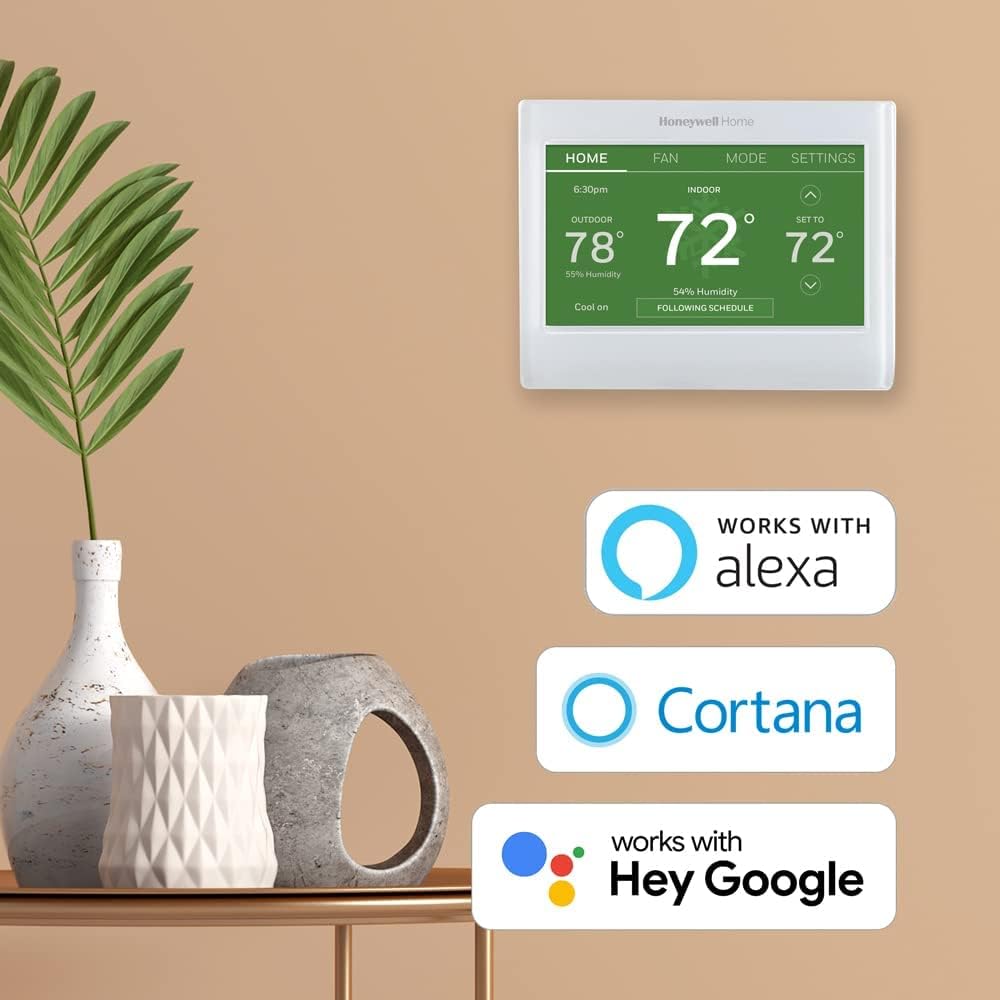
Turn the power back on at the breaker. Cross your fingers. Watch the Amazon Smart Thermostat screen flicker to life! If it does, congratulations! You've successfully performed a home improvement miracle.
Step 6: The App-titude Test
Download the Alexa app. It's like having a tiny, digital butler living in your phone. Follow the in-app instructions to connect your thermostat to your Wi-Fi network. Give your thermostat a fun name! (Thermy McThermostatface is always a solid choice.)
Step 7: Embrace the Future (and the Savings?)
Set your desired temperature. Revel in the glory of controlling your home's climate from the comfort of your couch. Imagine all the energy (and money!) you'll be saving. (Results may vary. Especially if you crank the heat up to 80 just because you can.)
You did it! You've conquered the Amazon Smart Thermostat installation. Now, go forth and enjoy the cozy, climate-controlled fruits of your labor. You deserve a celebratory nap... in a perfectly heated room, of course.