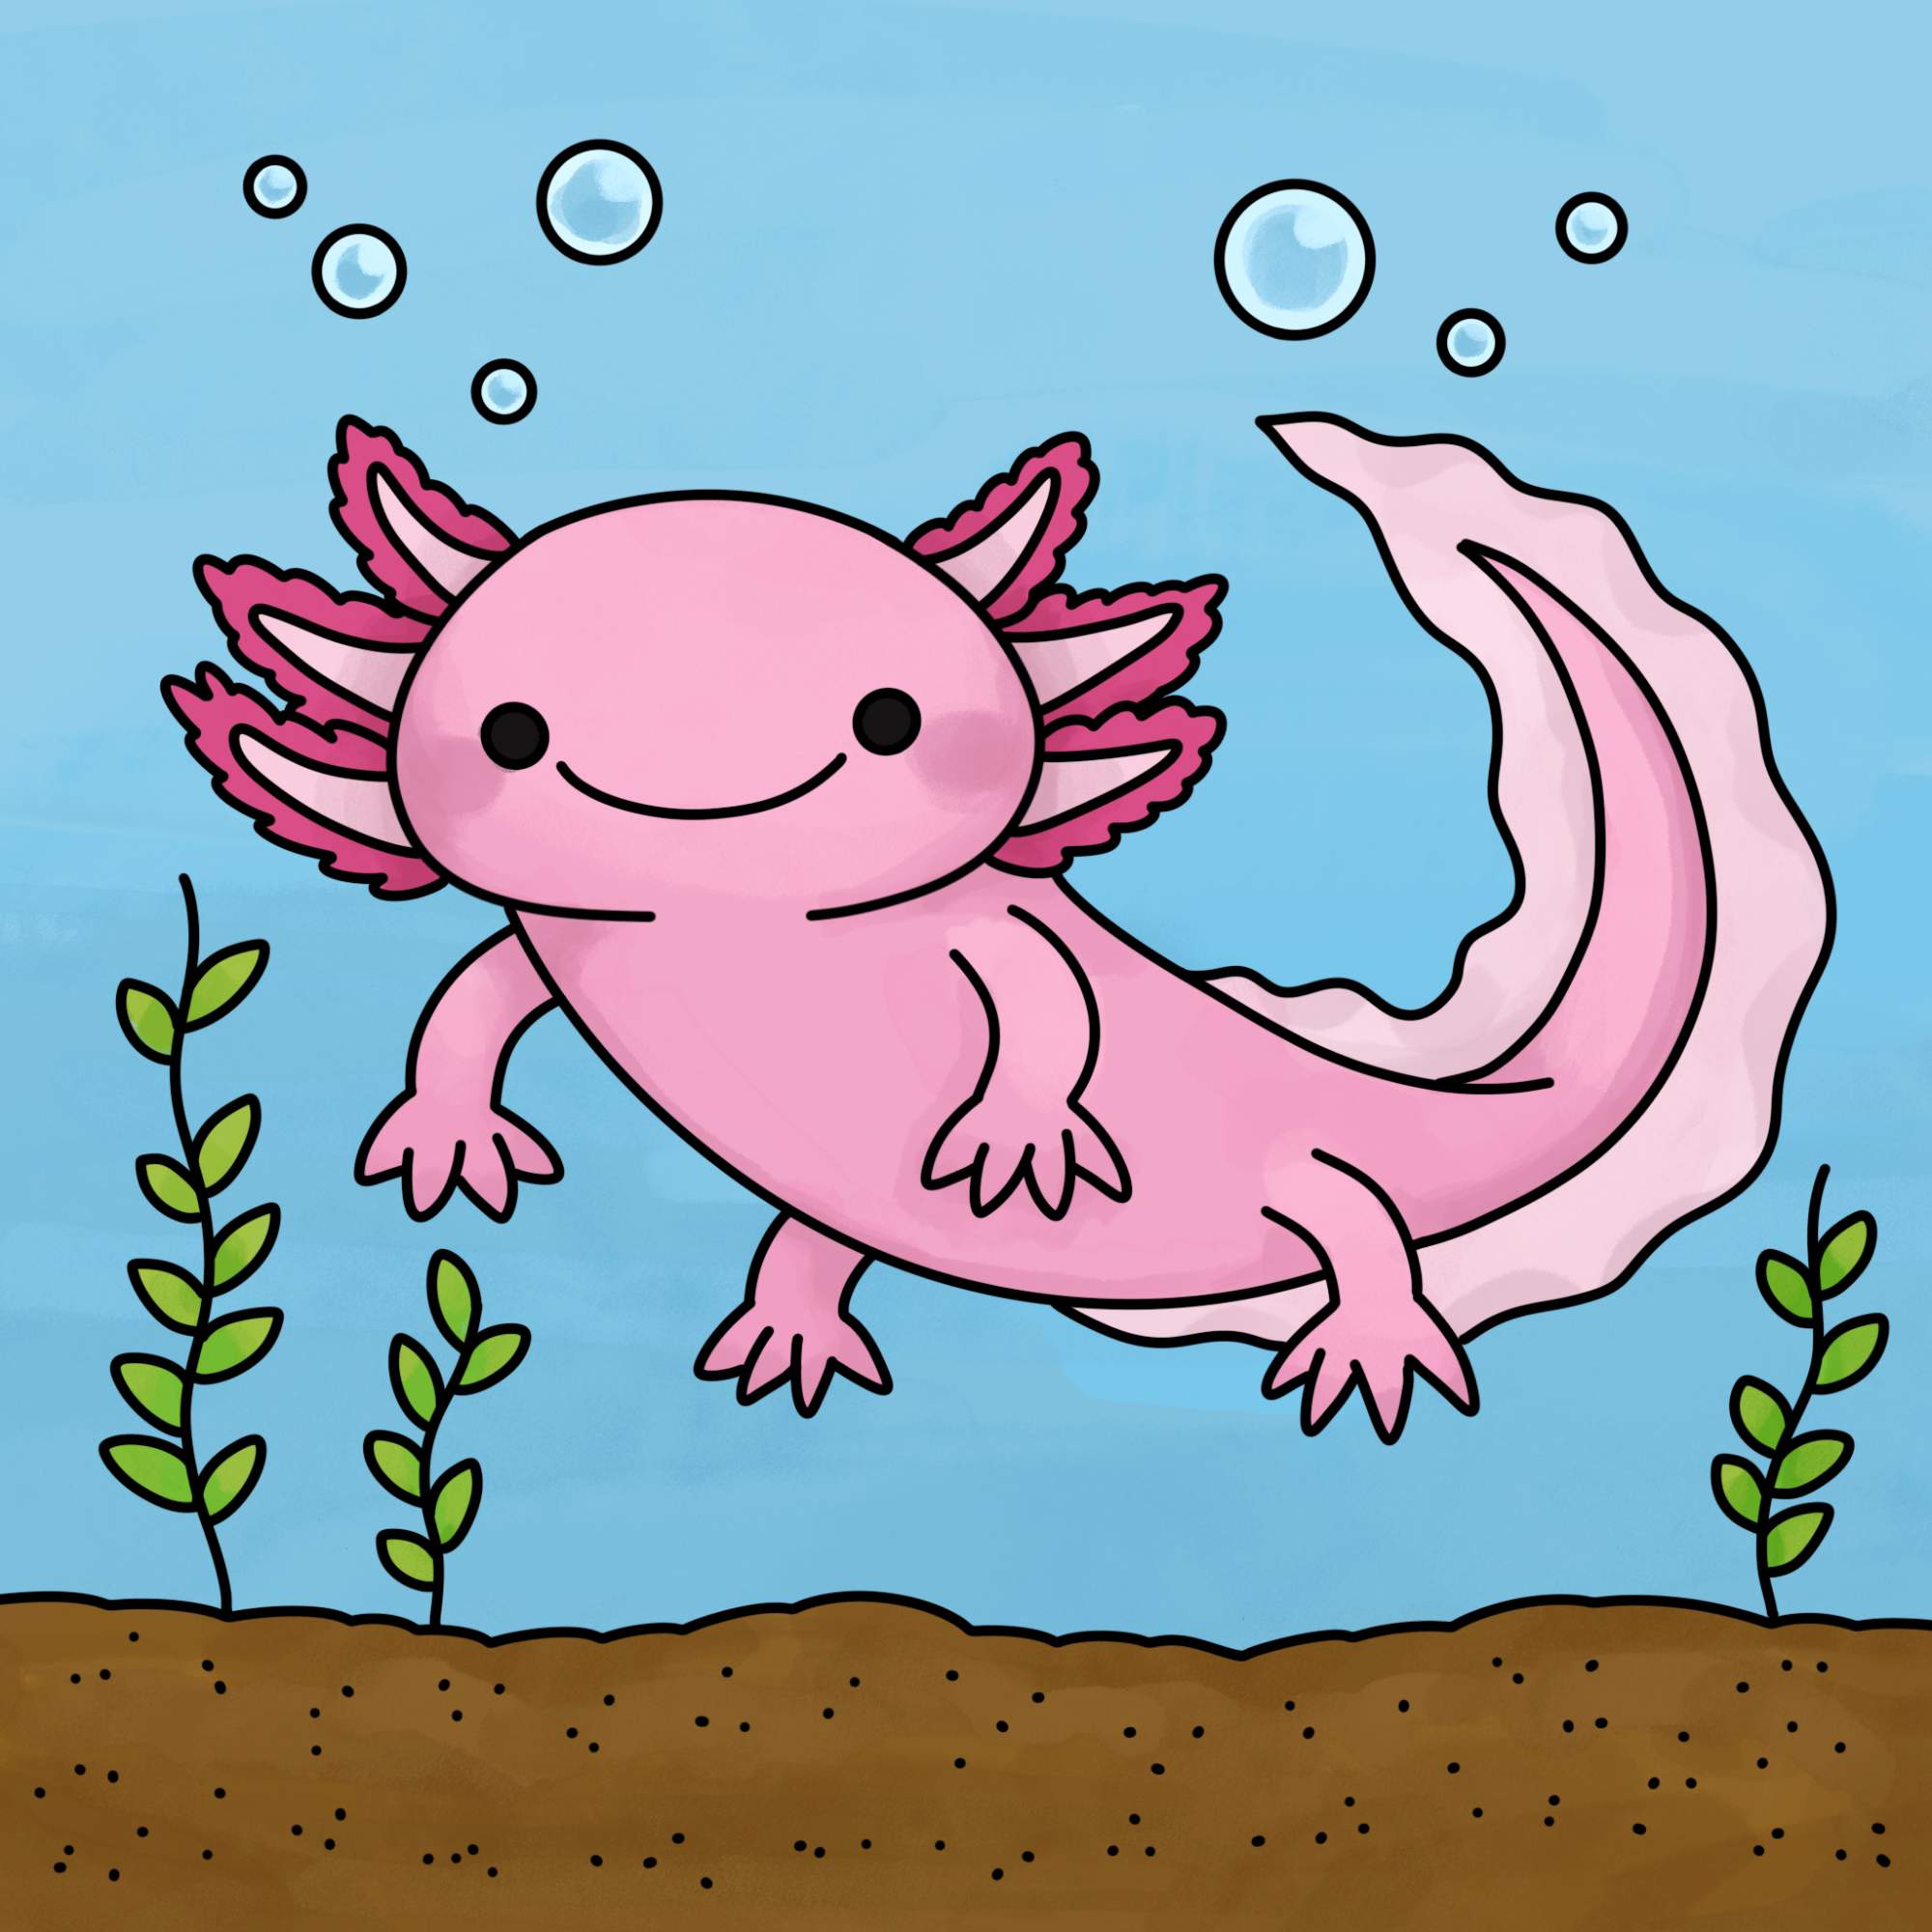
Want to draw something super cute and a little bit weird? How about an axolotl? These little guys are seriously adorable.
They look like they're always smiling. Plus, they have those feathery gills! Let's dive in and learn how to draw one.
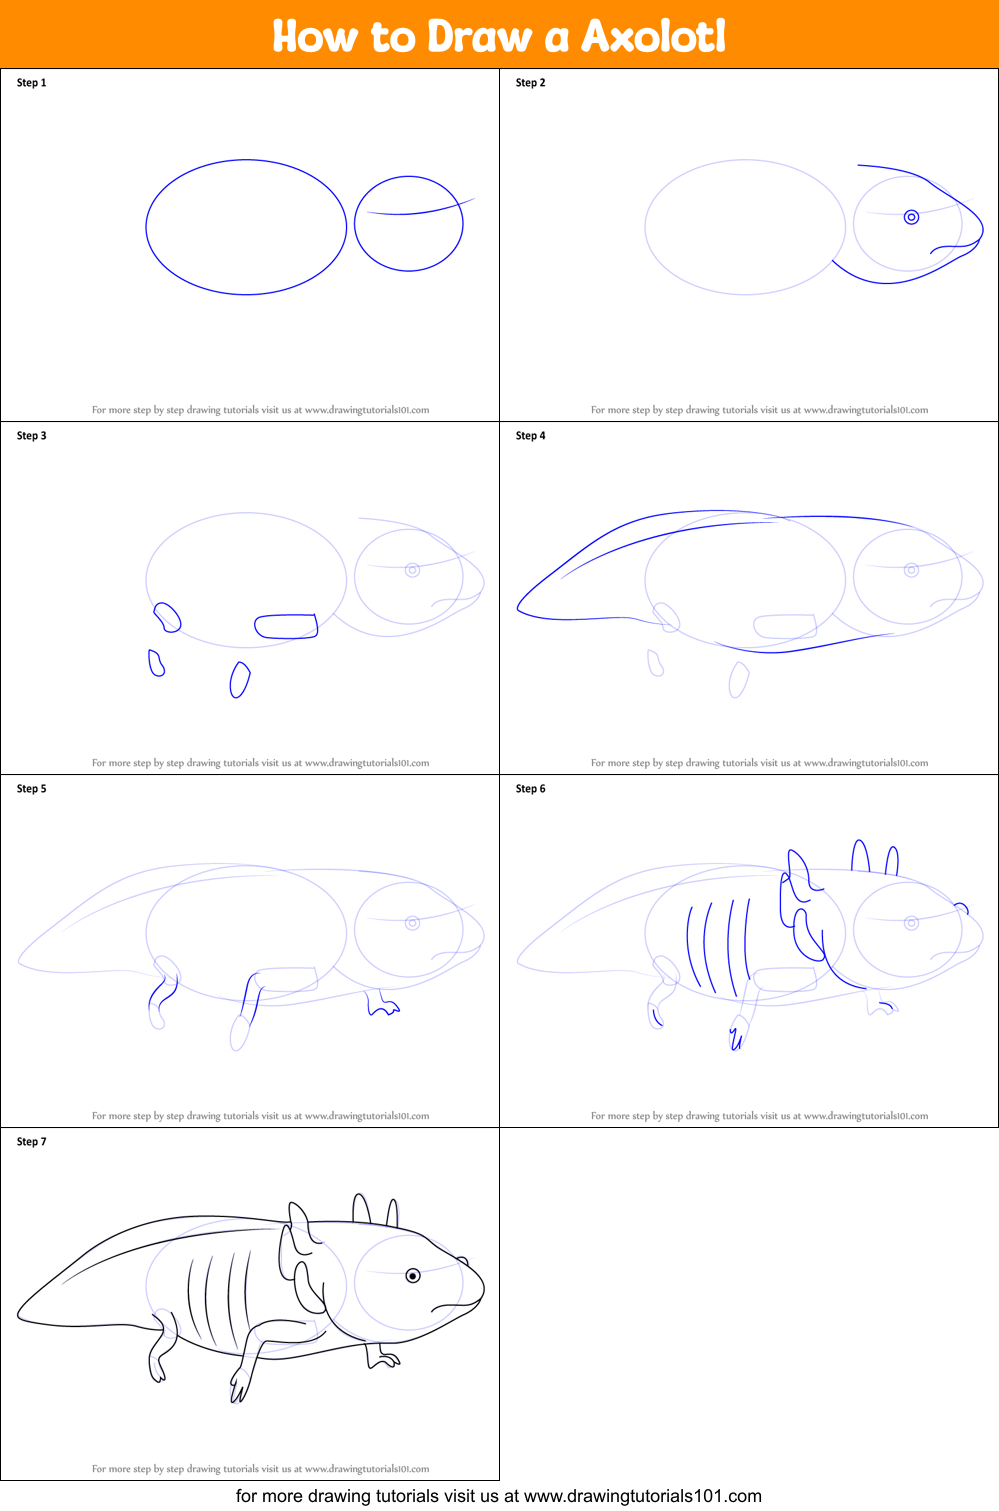
Step 1: The Basic Shape
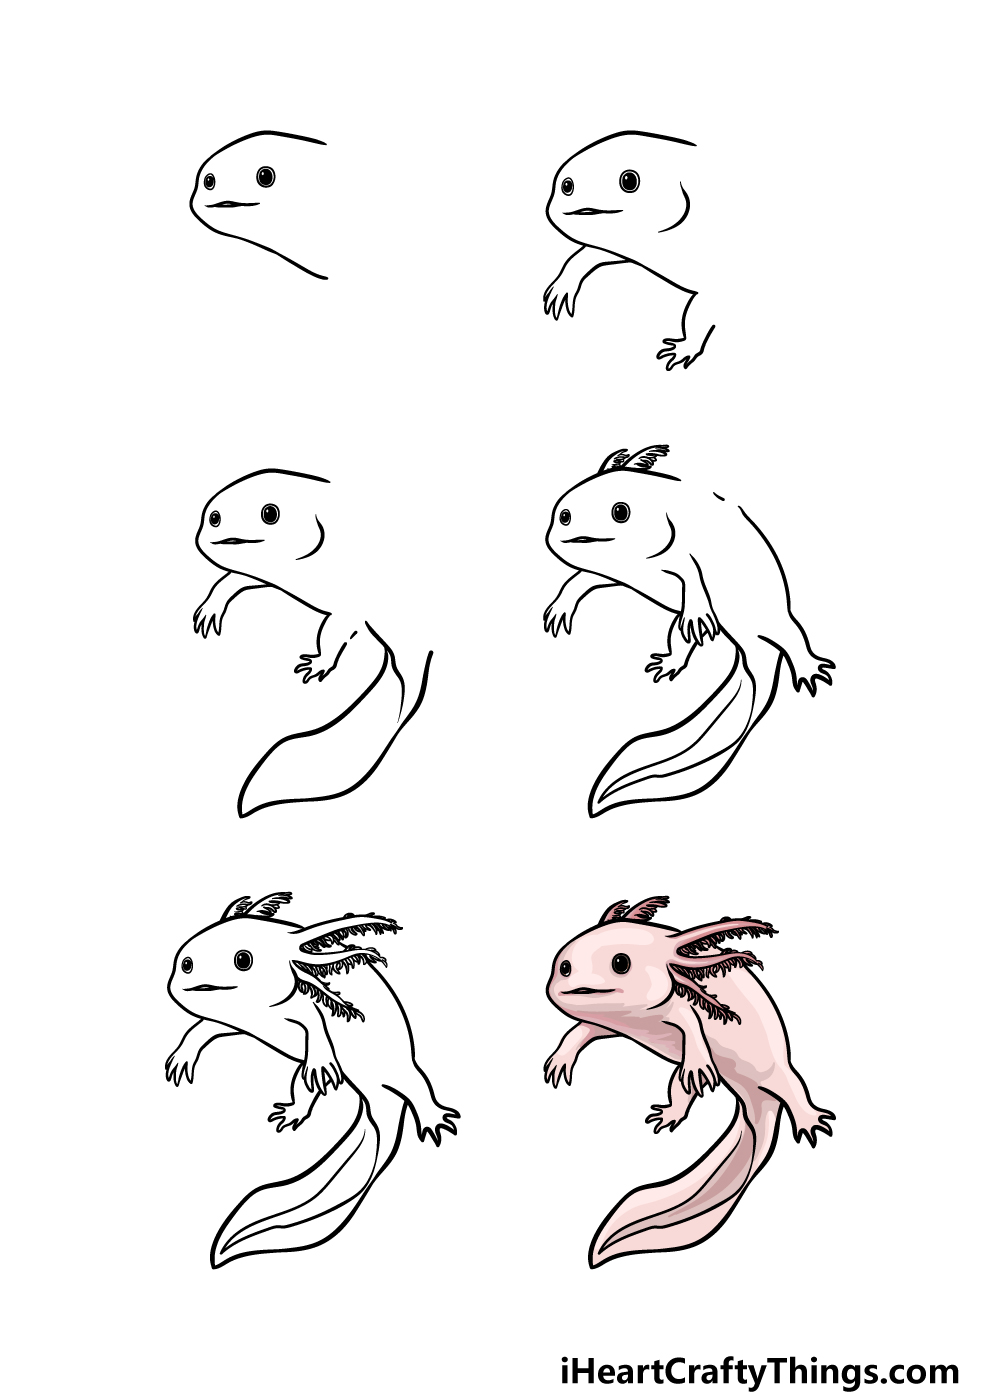
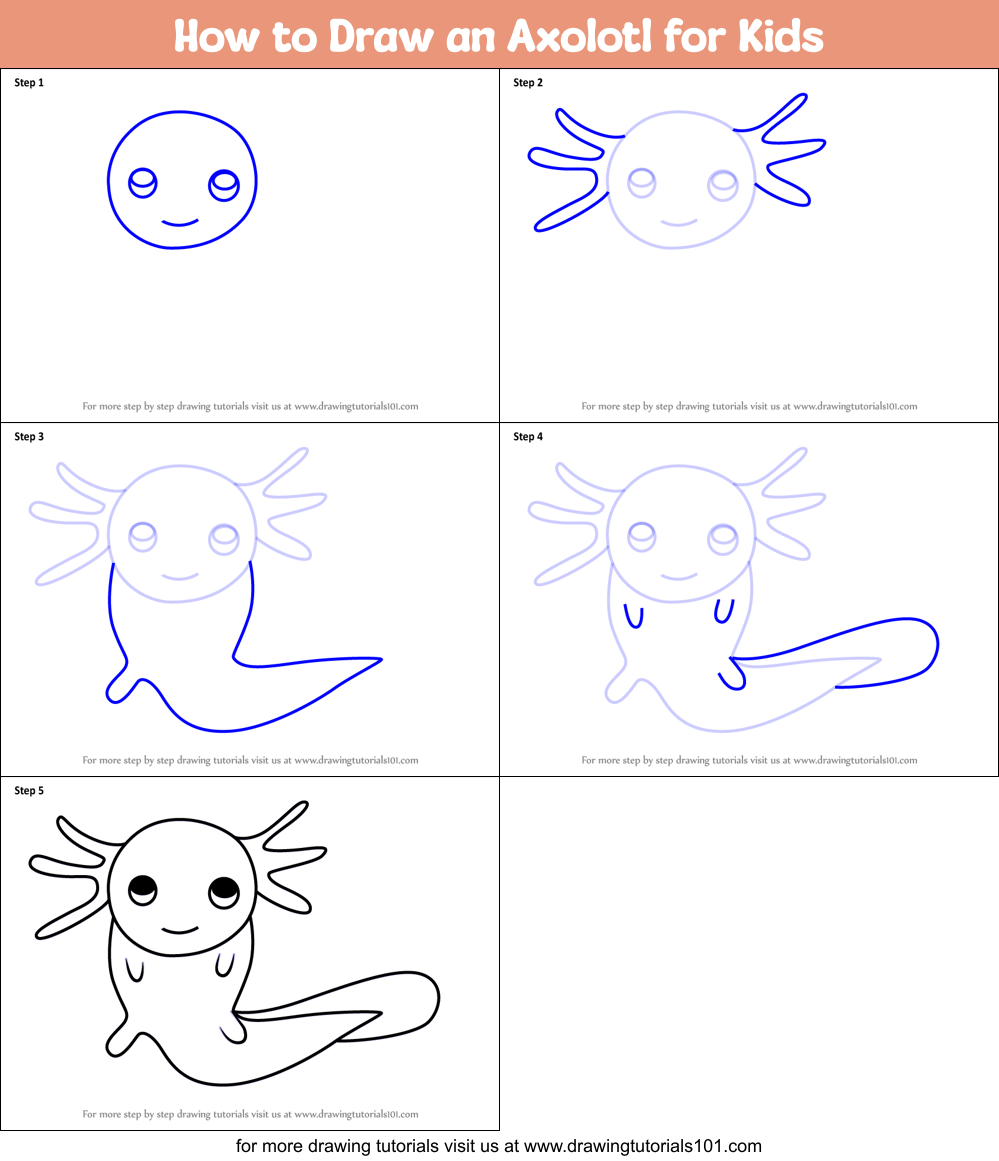
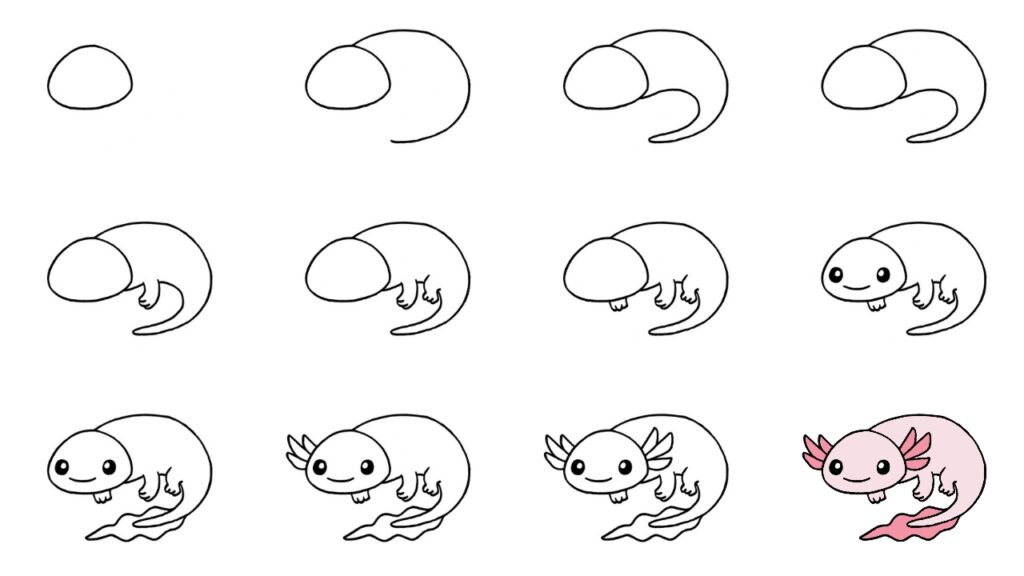
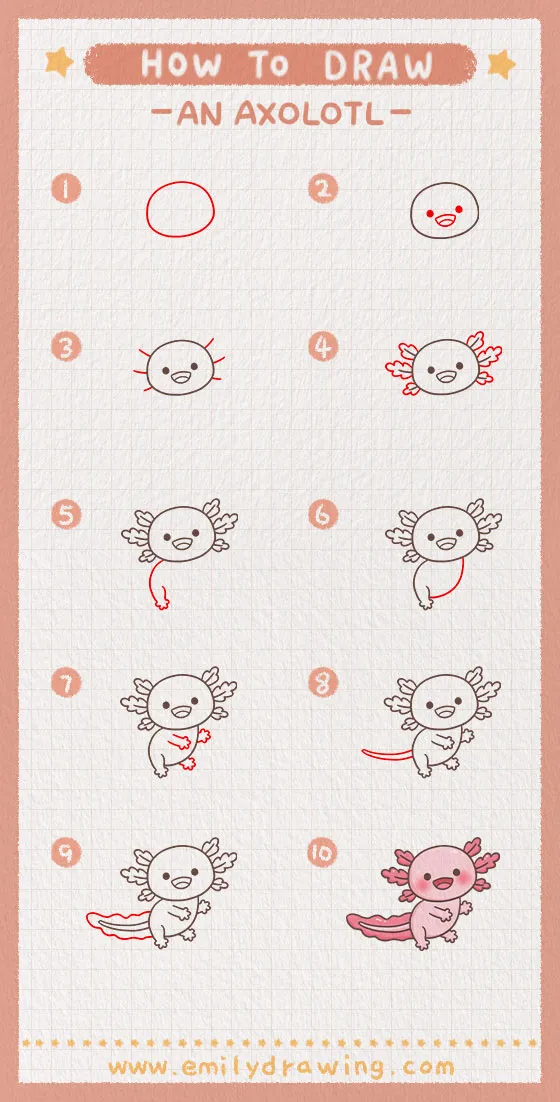
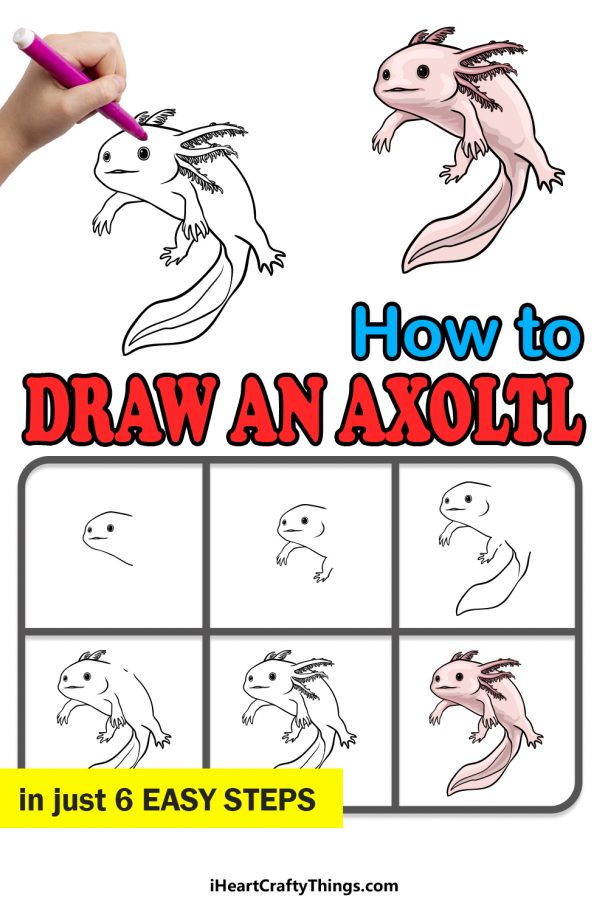
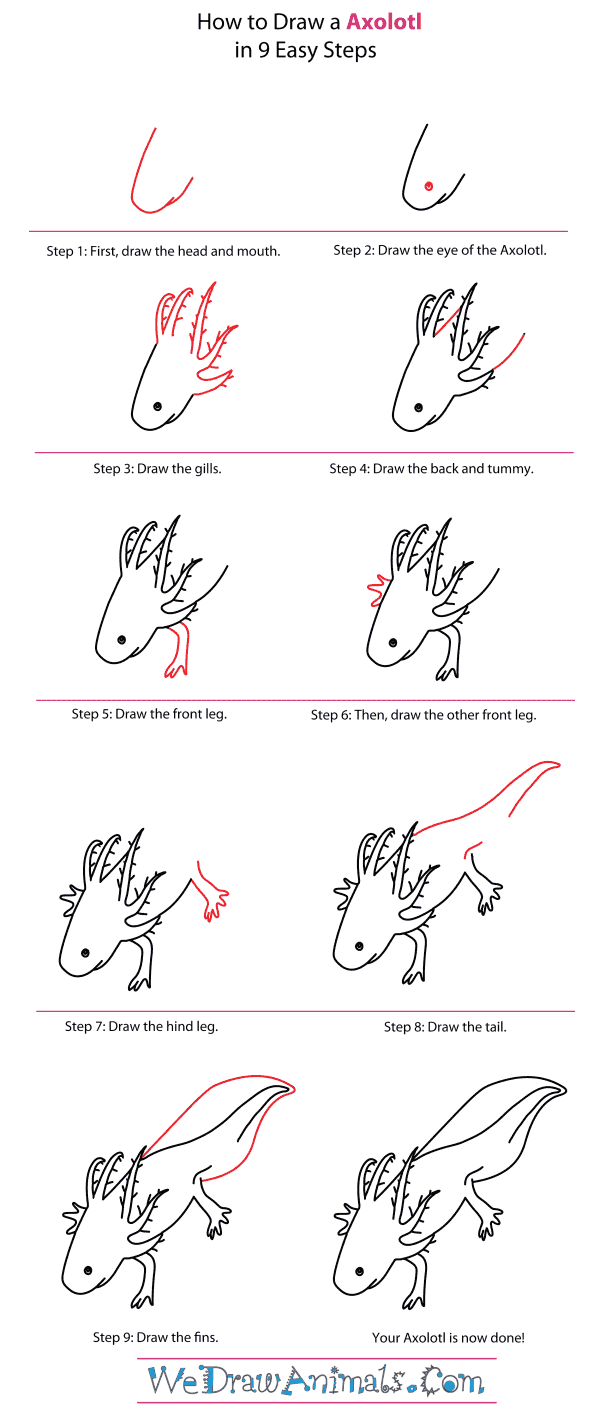
First, draw a rounded oval. This will be the axolotl's body. Don't worry about making it perfect!
Next, add a circle for the head. Overlap it slightly with the body oval. It's starting to take shape!
Step 2: Adding the Limbs
Draw four little stubs for the legs. Two in the front, two in the back. Keep them short and simple.
Now add a long, slightly curved tail. Make it about the same length as the body. Axolotls use their tails for swimming!
Step 3: The Face!
Time for the best part! Draw two small, round eyes. Place them on the upper part of the head.
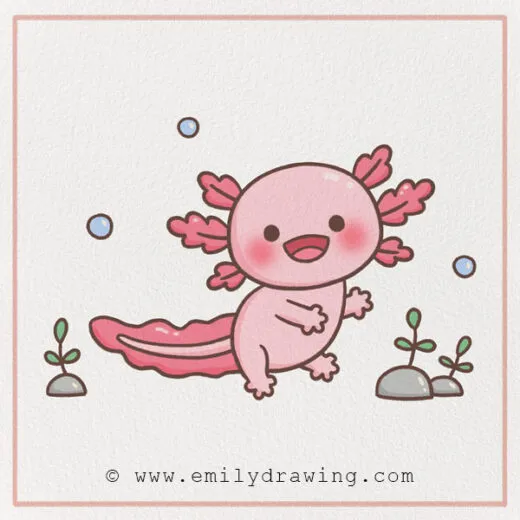
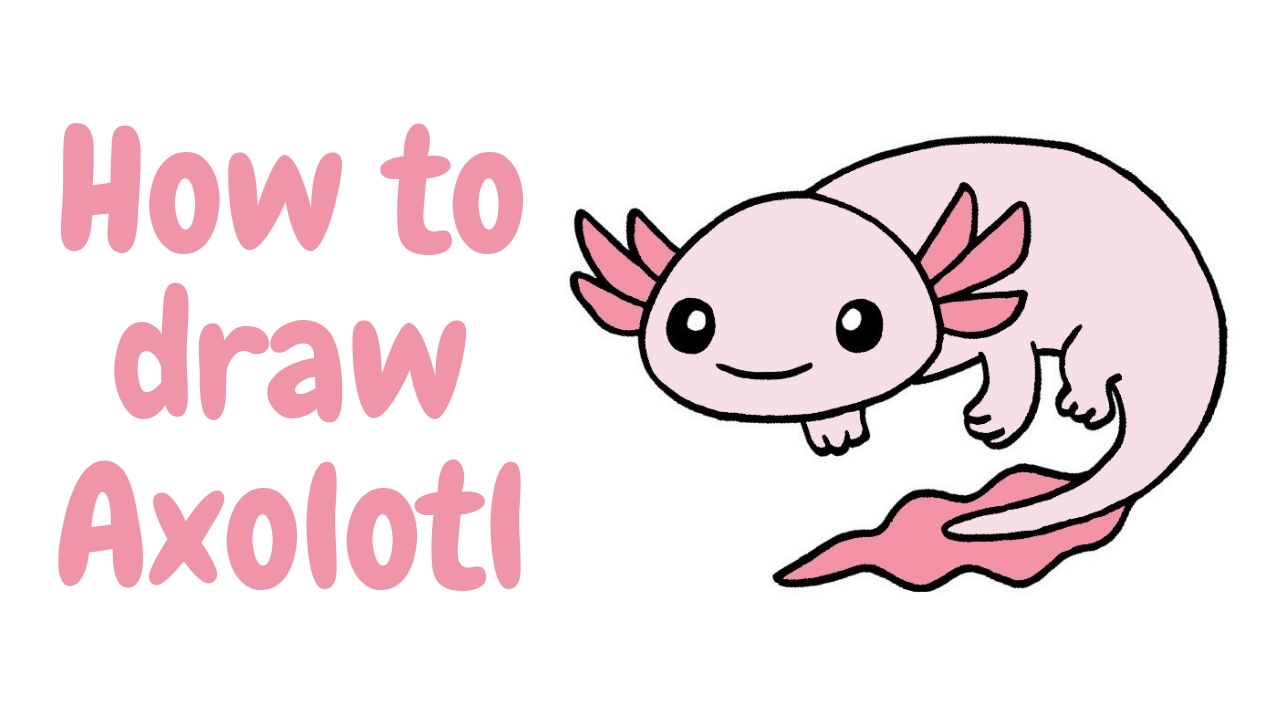
Add a curved line for the mouth. Make it slightly upturned to give that signature axolotl smile. It's getting cuter already!
Step 4: Those Famous Gills
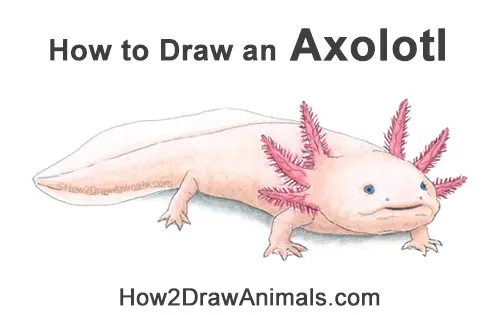
Okay, this is what makes an axolotl an axolotl. Draw three feathery plumes on each side of the head. These are the external gills.
Start with a short stem and add wispy lines coming out. Think of it like a feather or a little tree branch.
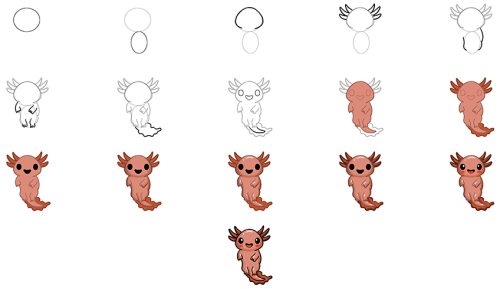
Step 5: Refining the Lines
Erase any overlapping lines from the initial shapes. Clean up the outline of the body, head, and tail.
You can add a little curve to the back and belly. Make the tail slightly thinner at the tip. Now it looks smoother.
Step 6: Adding Details
Draw a small nostril on each side of the head. Just a little dot will do. Axolotls need to breathe, of course!
Consider adding some tiny spots on the body. These can be random or follow a pattern. It's up to you!
Step 7: Shading (Optional)
Want to give your axolotl some depth? Add light shading along the edges of the body and tail. This will make it look more three-dimensional.
You can also shade around the gills. This will make them stand out even more. Experiment with different shading techniques!
Step 8: Color It In!
Now for the fun part! Grab your favorite colors and bring your axolotl to life. They come in all sorts of shades.
You can go with the classic pink. Or try a darker color like brown or black. Maybe even a vibrant gold!
Step 9: Give it a Home
Don't let your little buddy float in space. Draw a simple background.
Consider some water plants or rocks. Maybe even a funny little treasure chest! This will complete your drawing.
Step 10: Admire Your Work!
Congratulations! You've drawn your own axolotl. Isn't it awesome?
These creatures are truly special. They can regenerate limbs! That’s why they're so fascinating.
Keep practicing. You'll get better with each drawing. Now go create a whole army of adorable axolotls!
