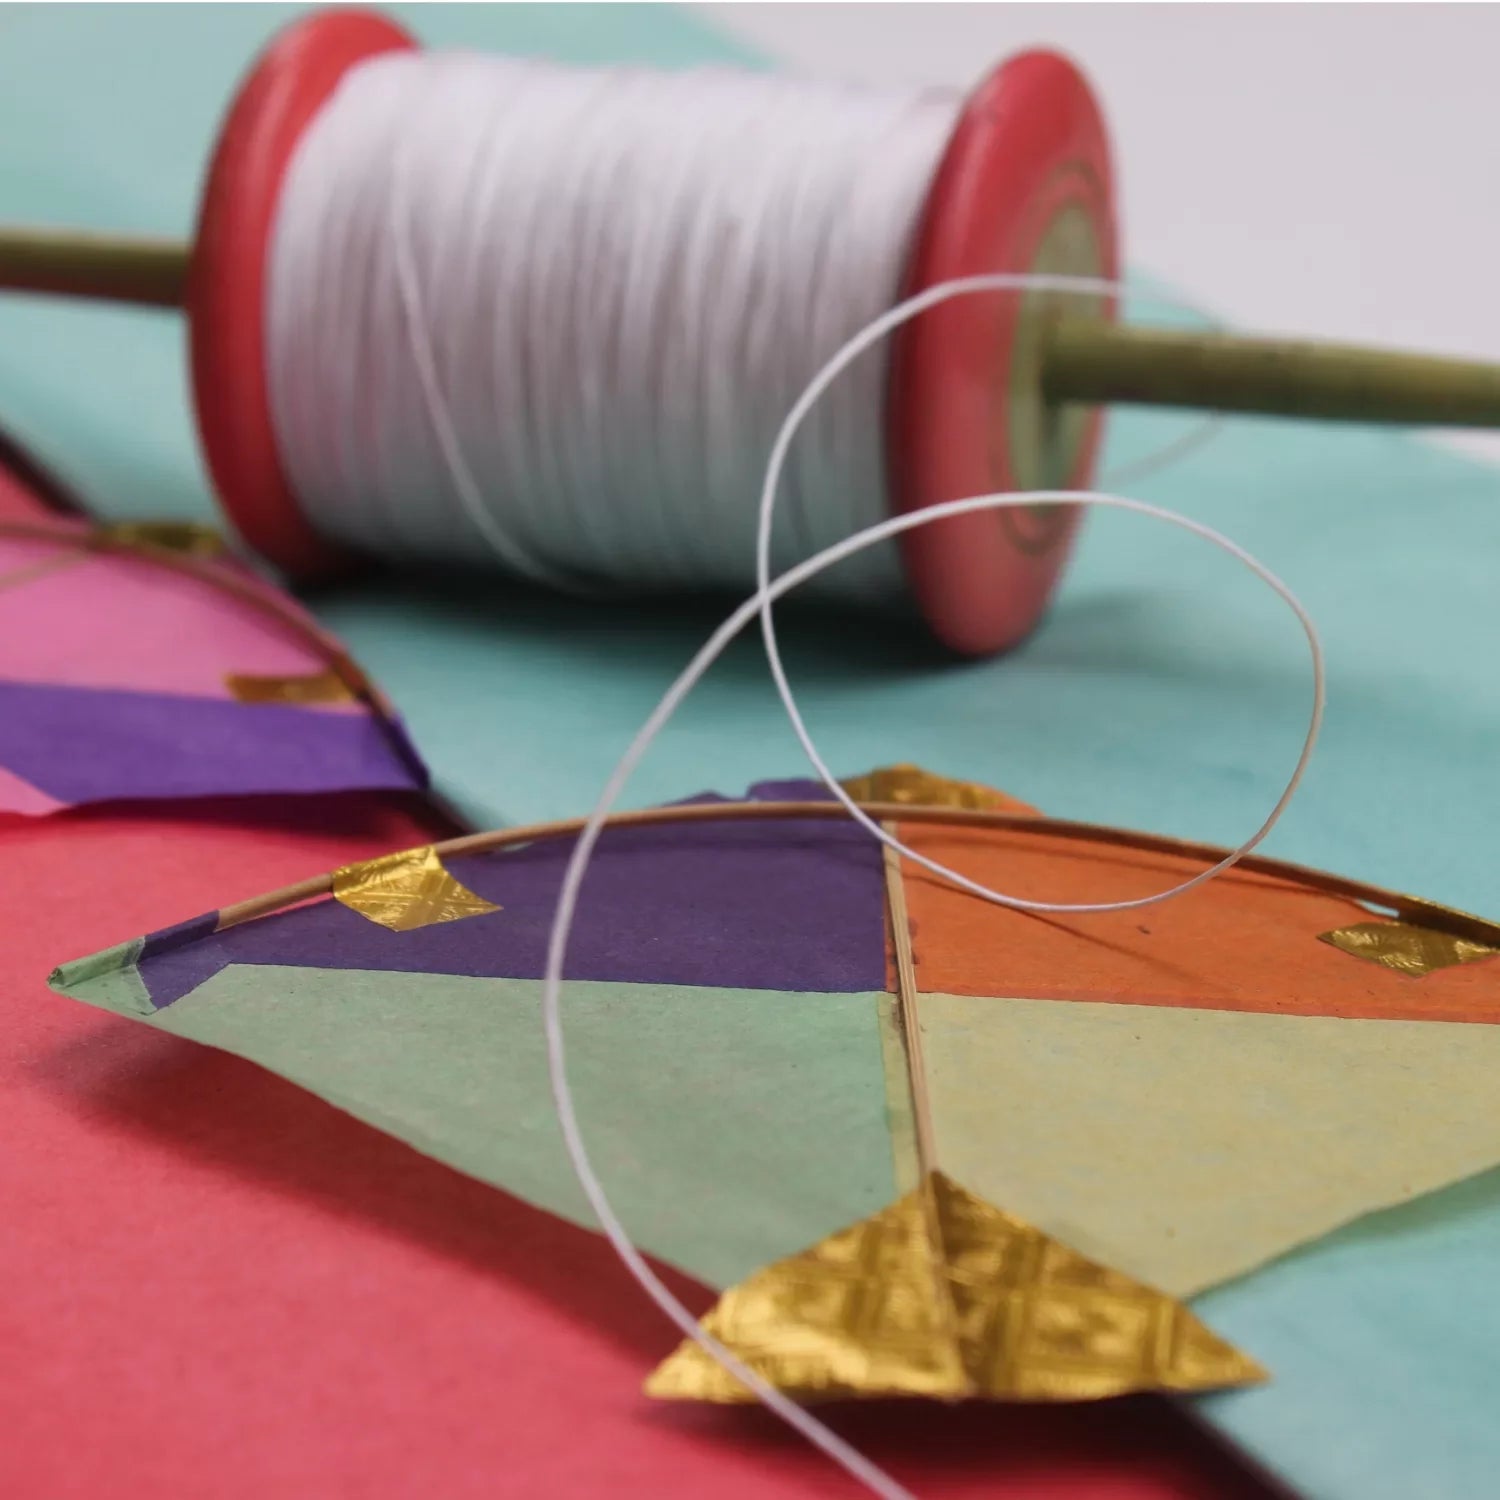
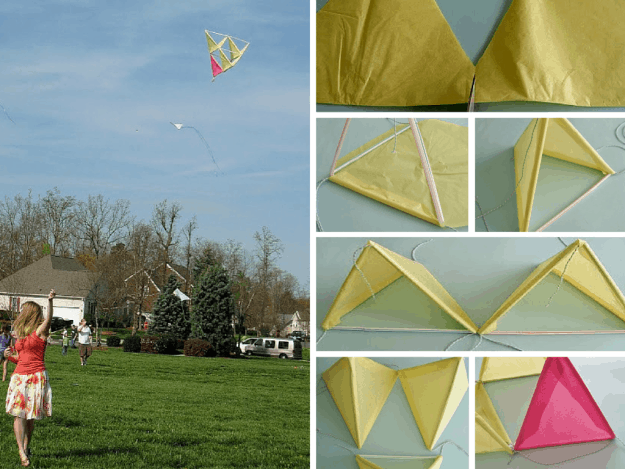
So, you wanna fly a kite? Excellent choice! Forget those fancy, expensive kites; we're going straight to the source of pure, unadulterated joy: the dollar store.
Yes, you heard right. We're talking about crafting a masterpiece of aerodynamic wonder for the price of a latte (okay, maybe half a latte, depending on where you get your caffeine fix).
The Great Dollar Store Kite Expedition
First, the shopping spree! Head to your local dollar store with the enthusiasm of a kid on Christmas morning.
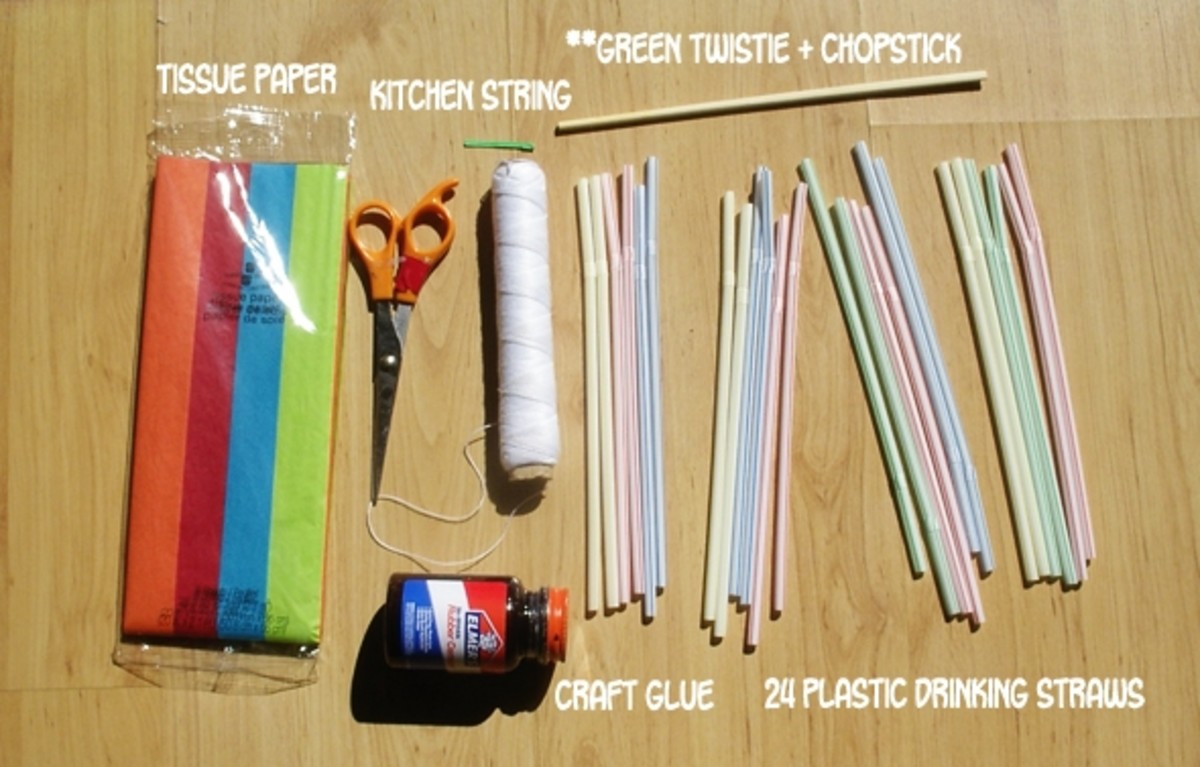
Your mission, should you choose to accept it (and you totally should), is to acquire these essential items: a kite (obviously!), some string (because the included string is usually…optimistic), and maybe some colorful ribbon or streamers for extra pizzazz.
Don't forget some clear tape – it’s the duct tape of the kite world!
Unboxing Your Winged Wonder
Alright, you're back home, triumphant, with your bag of kite-building glory! Carefully unpack your kite. Admire its…unique design.
It might look a little…underwhelming at first. But trust me, we’re about to unleash its hidden potential.
Stringing Along (Without Losing Your Mind)
Now comes the crucial part: attaching the string. Locate the designated spot – usually a little plastic loop or hole somewhere on the kite’s frame.
This is where the included string might look tempting, but resist! Use your new, stronger string. Trust me, that flimsy stuff snaps faster than a dry twig.
Tie a good, sturdy knot. Think Boy Scout level knot-tying skills. If you’ve never tied a knot in your life, YouTube is your friend. A poorly tied knot is a sad kite's worst enemy!
Adding Flair (Because Why Not?)
This is where things get fun! Remember those ribbons and streamers you bought? It's time to unleash your inner artist!
Tape those bad boys to the bottom of the kite. The more, the merrier! Imagine them dancing in the wind as your kite soars through the sky!
Feel free to get creative. Maybe add some stickers. Maybe draw on it with markers. Maybe even glue on some googly eyes. The sky's the limit! (Pun intended, of course.)
The Moment of Truth (aka: Flight Time!)
Find a nice, open space. A park, a beach, a field – anywhere without trees trying to sabotage your kite-flying dreams. And make sure there's a bit of wind!
Hold the kite up, let the string out, and run like you're being chased by a flock of angry geese! Okay, maybe not that dramatically. But a good, brisk walk should do the trick.
With a bit of luck (and a decent breeze), your dollar store masterpiece will take flight! Bask in the glory of your creation!
Don't be discouraged if it doesn't work on the first try. Kite flying can be a fickle mistress. Just adjust, tweak, and try again!
And remember, even if your kite ends up nose-diving into the ground, you still had fun making it. And that, my friend, is priceless (even if the kite only cost a dollar).
Emergency Kite Surgery
Oh no! Disaster strikes! A rogue gust of wind has ripped a hole in your kite! Fear not, intrepid kite builder! This is where our trusty clear tape comes to the rescue.
Patch up that tear like a seasoned surgeon. No one will ever know the difference. Except maybe the wind.
"Remember, every kite is a learning experience. Even the ones that crash and burn. Especially the ones that crash and burn." - Confucius (probably)
So go forth, my friend! Build your dollar store kite, brave the wind, and experience the simple joy of watching something you made soar through the sky. You deserve it!

