Alright, buckle up buttercup! We're diving headfirst into the wonderful world of Blink camera settings. Get ready to become a Blink-adjusting ninja!
Let's Get This Show on the Road!
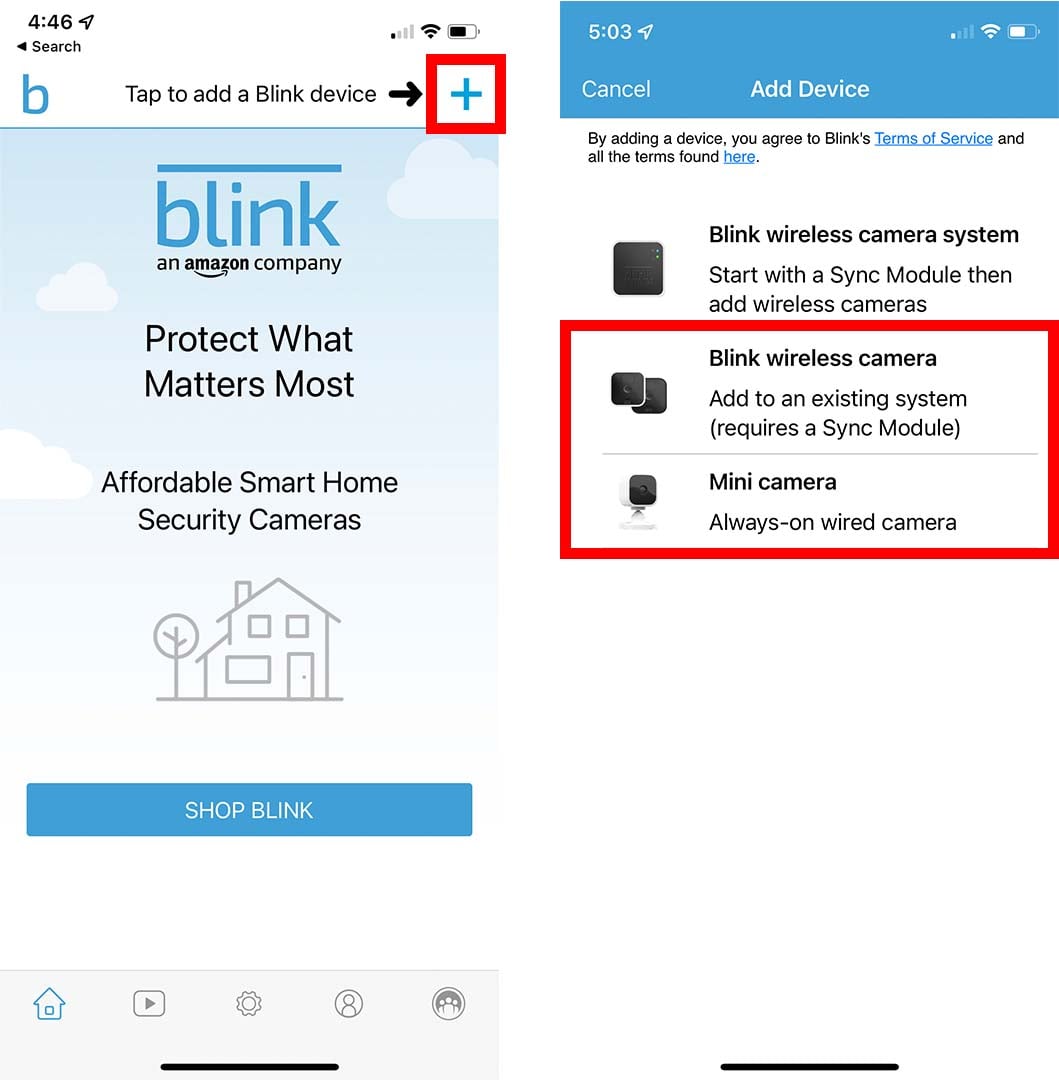
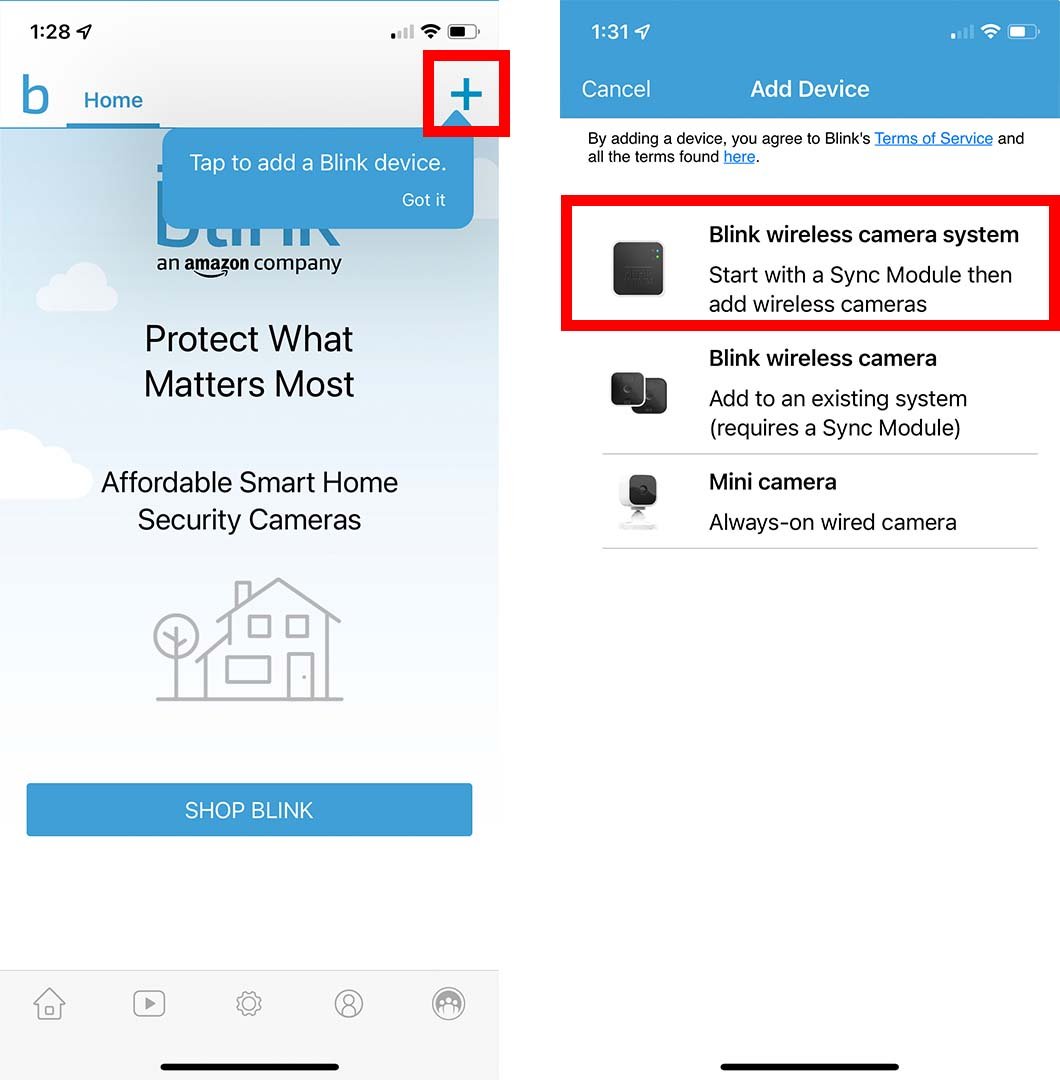
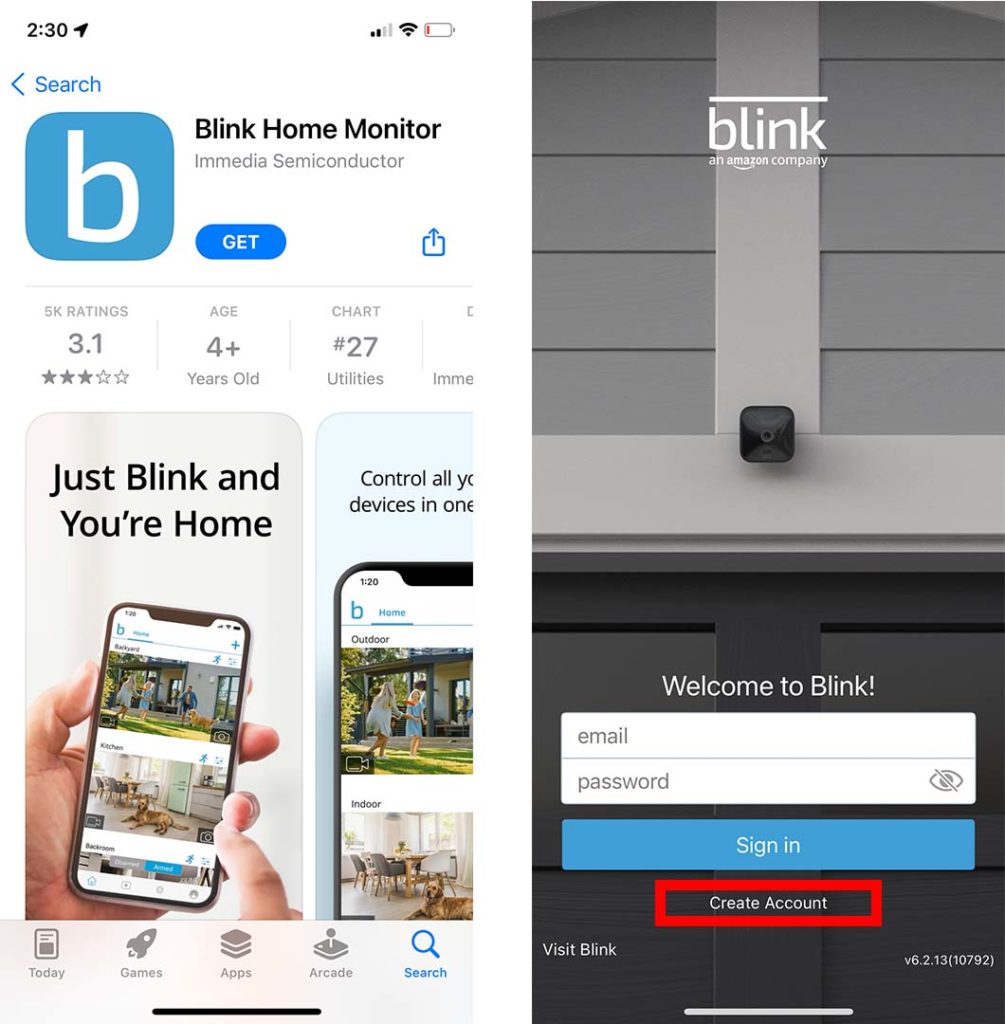
First things first, fire up that Blink app on your phone. See that little house icon at the bottom? Tap it!
That's where all the magic happens. You're about to unlock the secrets of ultimate home security... or at least make sure the cat doesn't have a party while you're out.
Motion Detection: Taming the Triggers
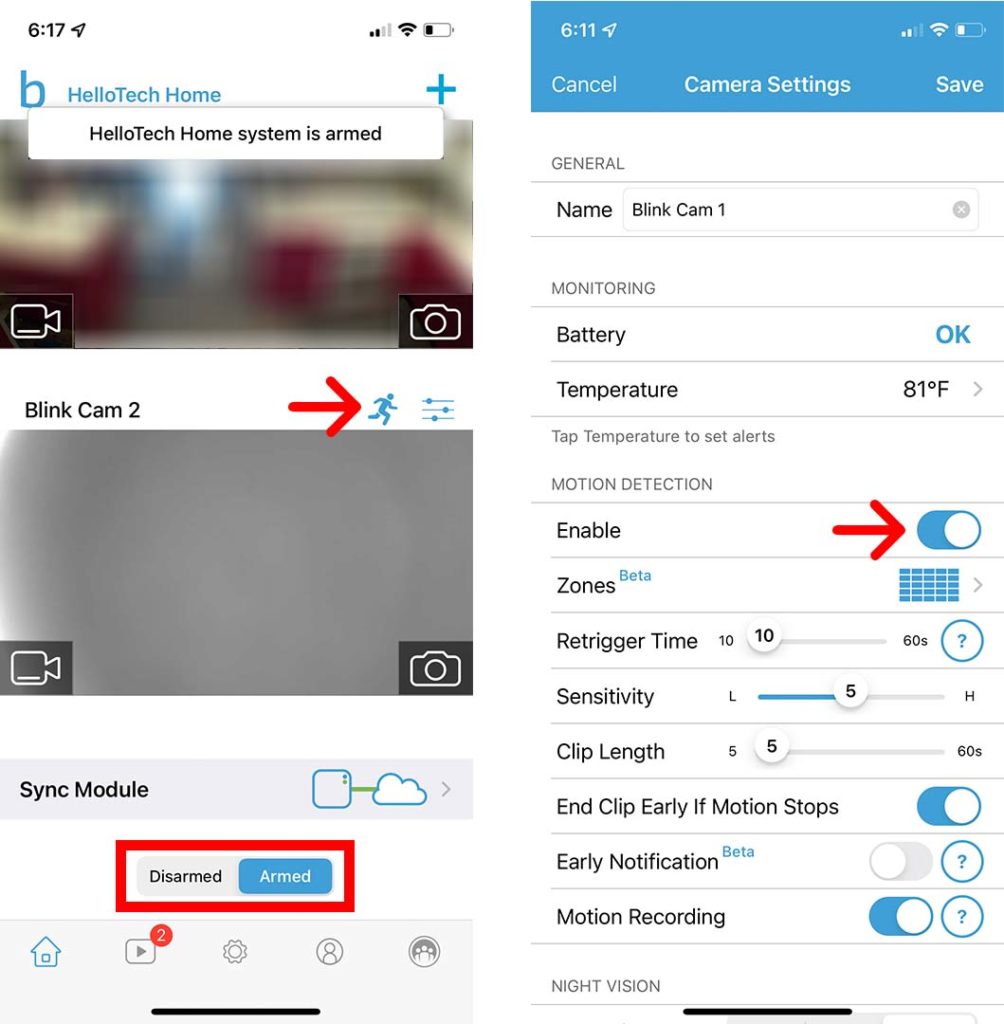
Okay, now find the camera you want to tweak. Tap the settings icon – it looks like a tiny gear.
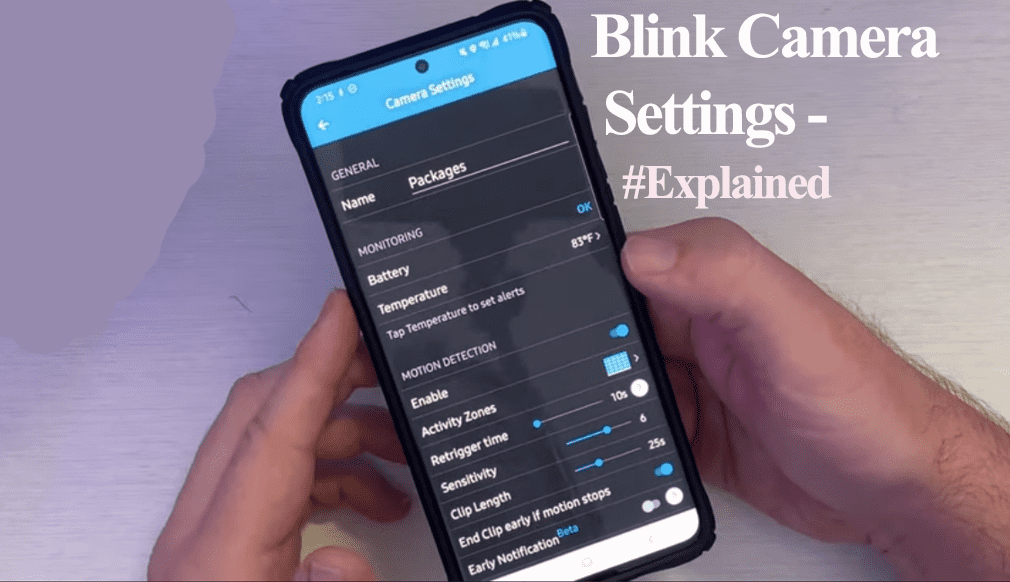
Scroll down until you see Motion Detection. This is where the fun begins! You can actually adjust the sensitivity, a.k.a. how twitchy your camera is.
Think of it like this: if your camera is constantly sending you alerts because a rogue leaf dared to flutter past, lower the sensitivity. Problem solved!
You might want to increase the sensitivity if you want it to catch every single little movement that happens. Especially if a ninja is trying to break into your home (highly unlikely but always good to be prepared).
Also, look for "Activity Zones." This is like drawing invisible lines in front of your camera. Imagine drawing a zone around your driveway and avoiding the street!
Now, your Blink only alerts you to movement *within* those zones. No more squirrel-induced panic attacks!
Video Settings: Picture Perfect
Back in the camera settings, hunt down "Video Settings." Here you can control things like resolution.
A higher resolution means a clearer picture, but it also eats up more battery and data. So, there is always a tradeoff.
You can also adjust the clip length, that way, you are able to see all the action. Maybe you can even catch the cat doing a backflip!
And don't forget about audio! Decide if you want your camera to record sound. Maybe you want to hear what your dog is barking at.
Arming and Disarming: Become the Master of Your Domain
"Arming" your system basically means telling your Blink cameras to be on high alert. When armed, they'll record video clips when they detect motion.
To arm or disarm, just use the big toggle button on the main screen of the Blink app. Easy peasy!
And guess what? You can even set up schedules! Let’s say you always leave for work at 8 a.m. You can set your system to automatically arm at 8:01 a.m. That’s what I call efficiency!
Advanced Settings: For the Truly Dedicated
Feeling adventurous? Dive into the "Advanced Settings"! You might find options to tweak the infrared (IR) settings. These are important for seeing in the dark!
You can also adjust the power settings. Playing around with the power settings can seriously extend the battery life. Now, that’s what I call a win-win!
Just be careful not to mess with anything you don't understand. Remember, with great power comes great responsibility.
The Takeaway
And there you have it! You're now officially a Blink camera settings guru. Go forth and customize your cameras to your heart's content!
Now go, adjust, and conquer! Your home security awaits!
Remember, a happy home is a well-monitored home (within reason, of course!).
